In this article, we will go over campaign settings and how to make a calendar your default calendar.
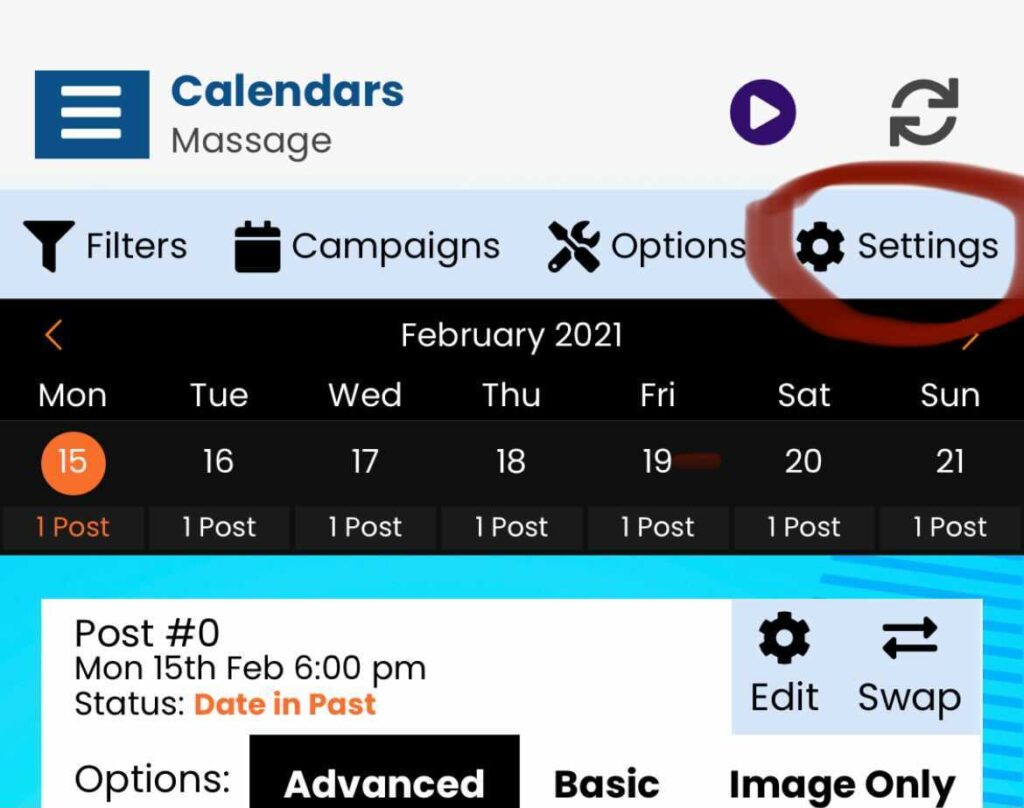
To gain access to calendar settings click the “settings” tab.
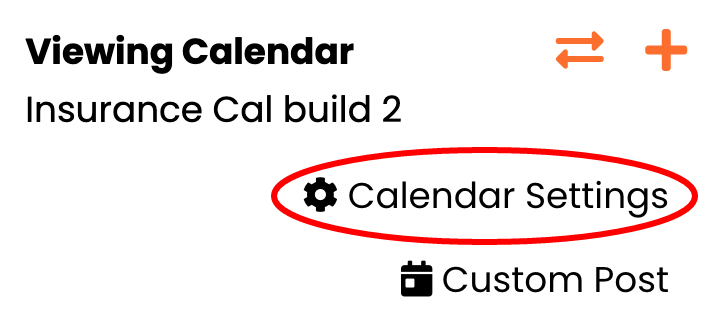
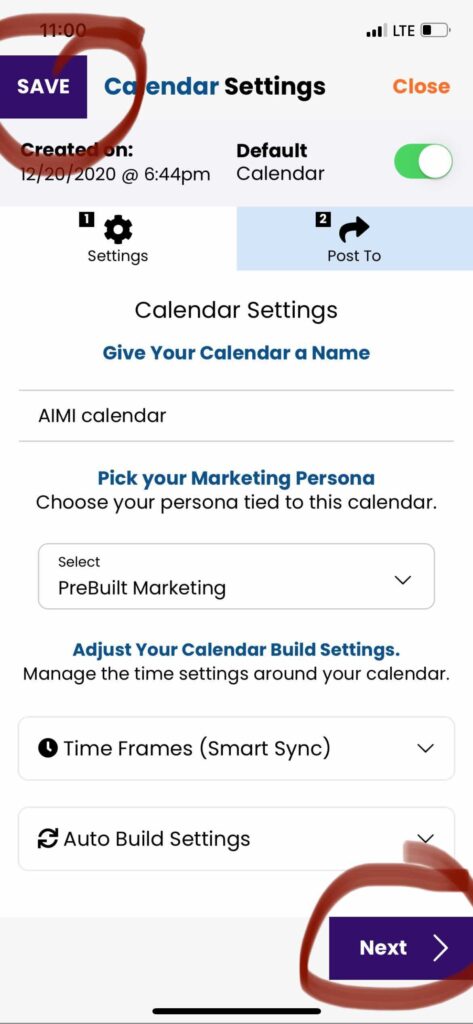
This will open our calendar settings area of the app.
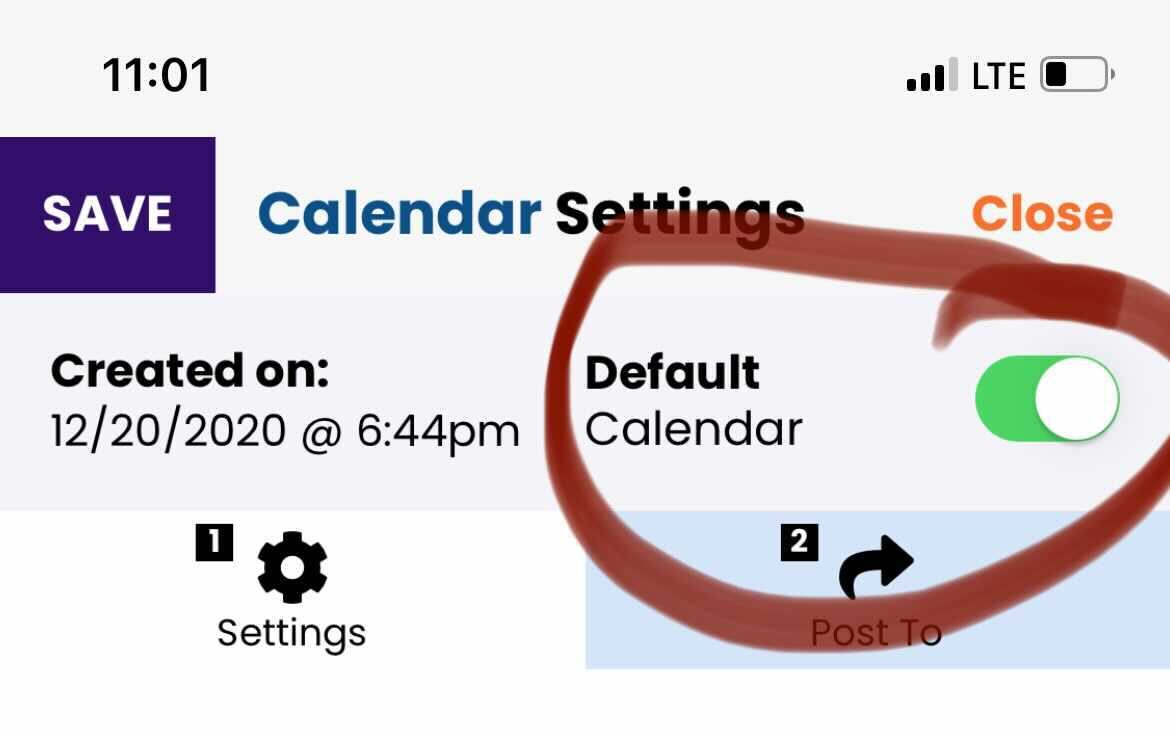
How to make a calendar the default one when you open the app.
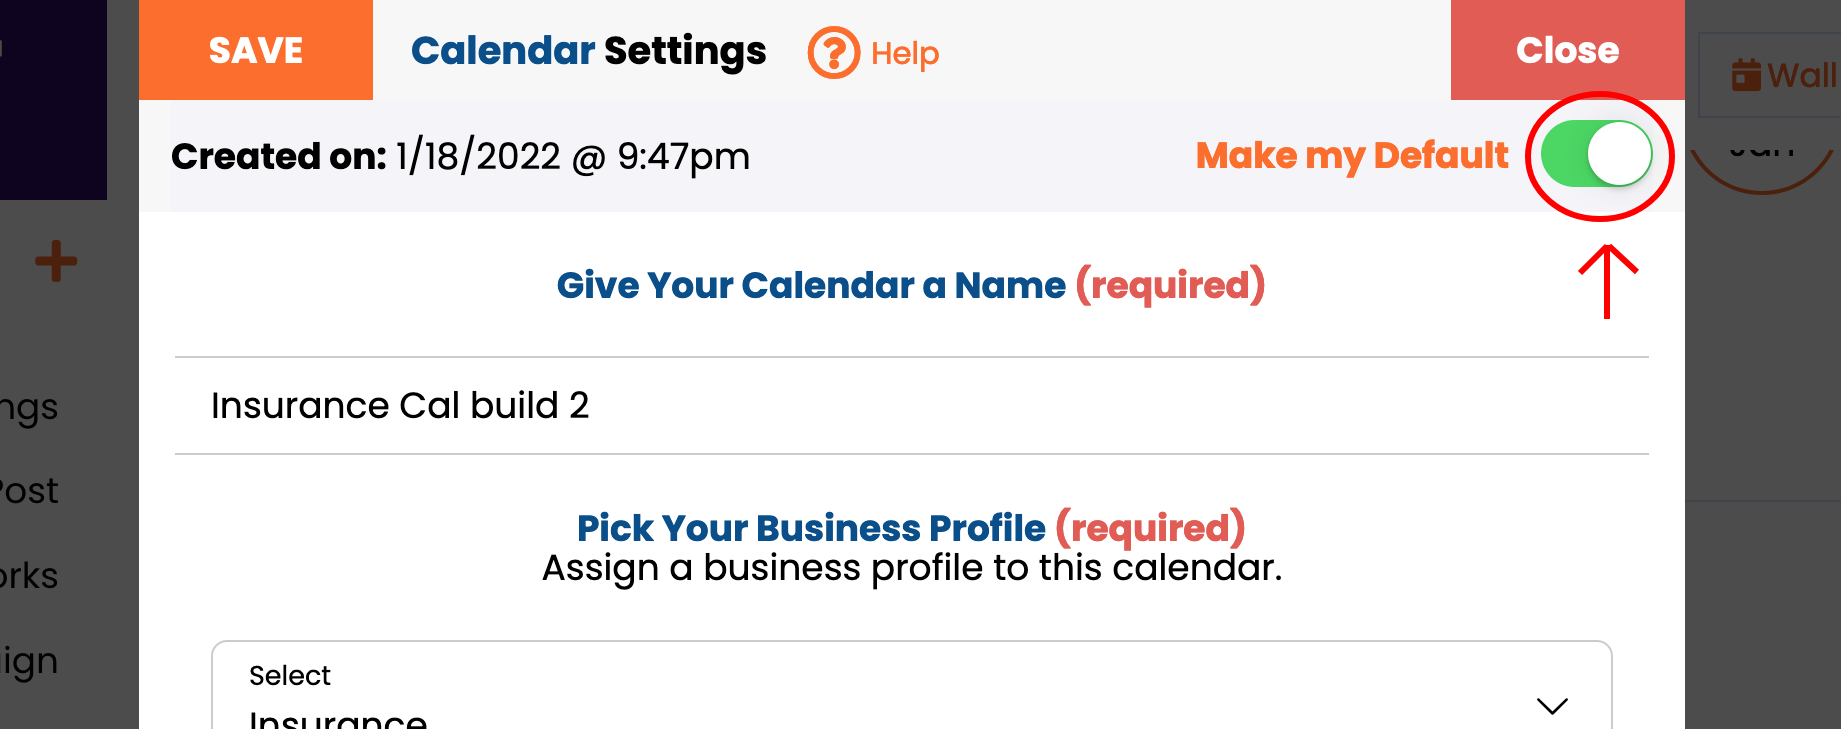
Make sure you slide the default option to green. Then click “Save” to lock in the changes. Next time you load the app, it will default to this calendar.
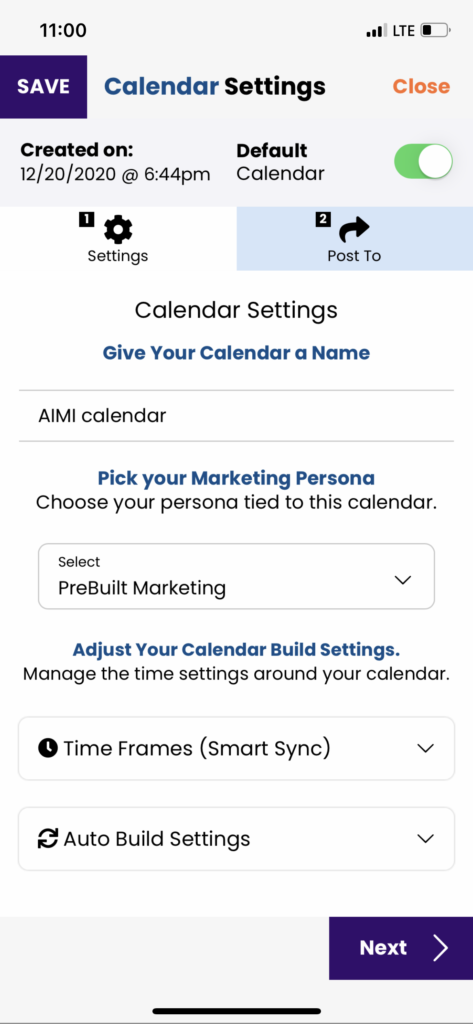
#1: Settings
On tab #1 Settings you can change the calendar name, business profile (persona), and turn on or off “Time Frames” & Auto Build Settings.
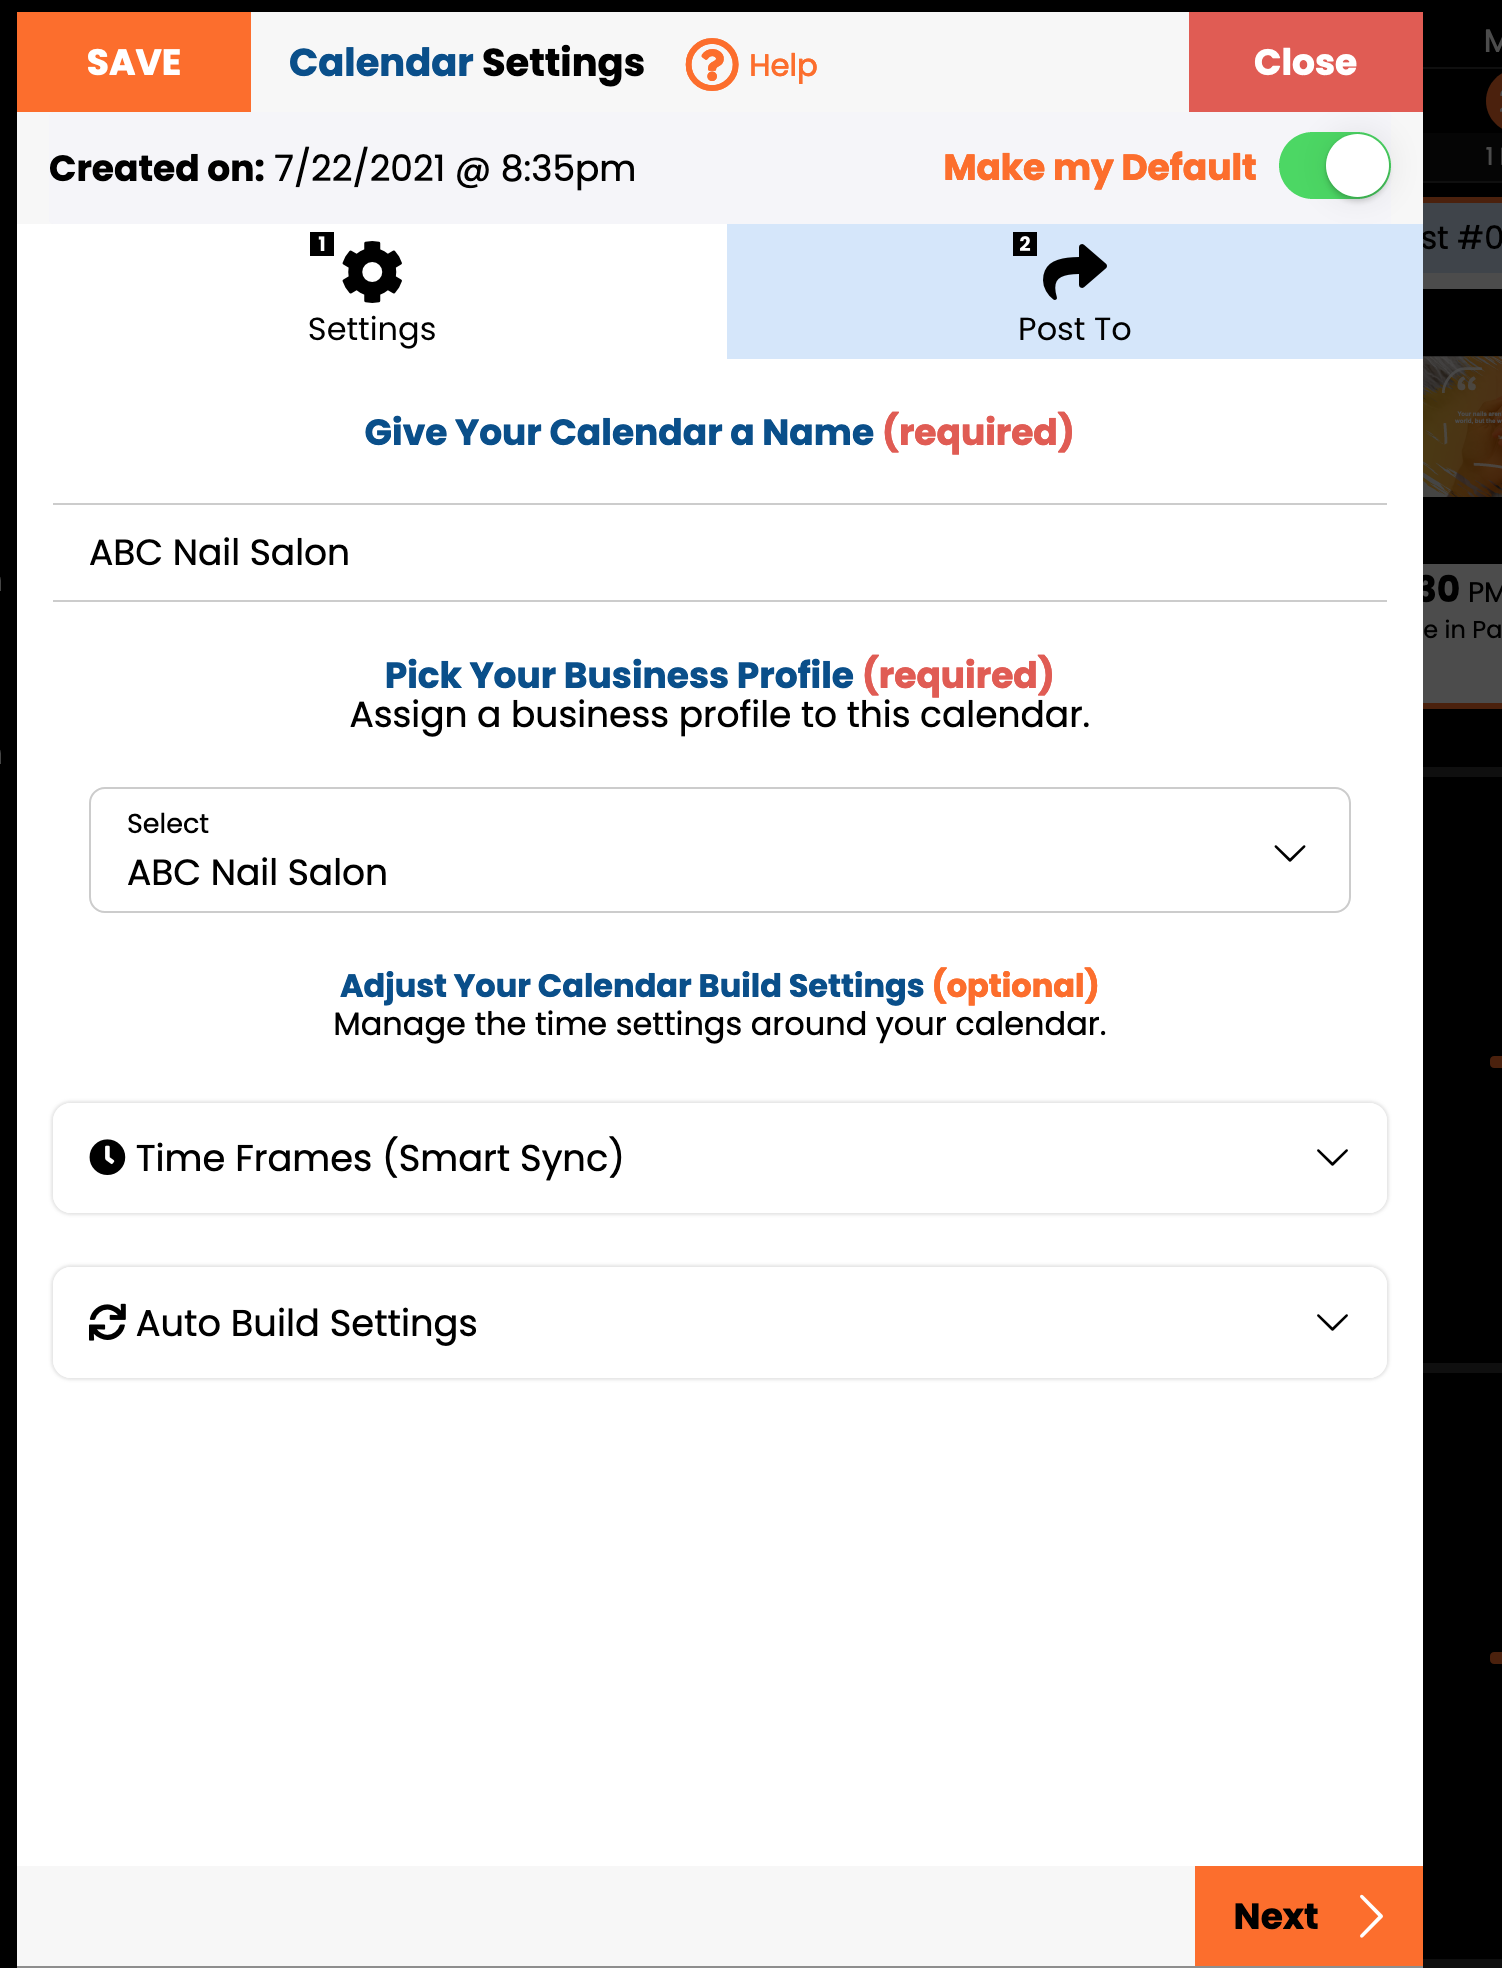
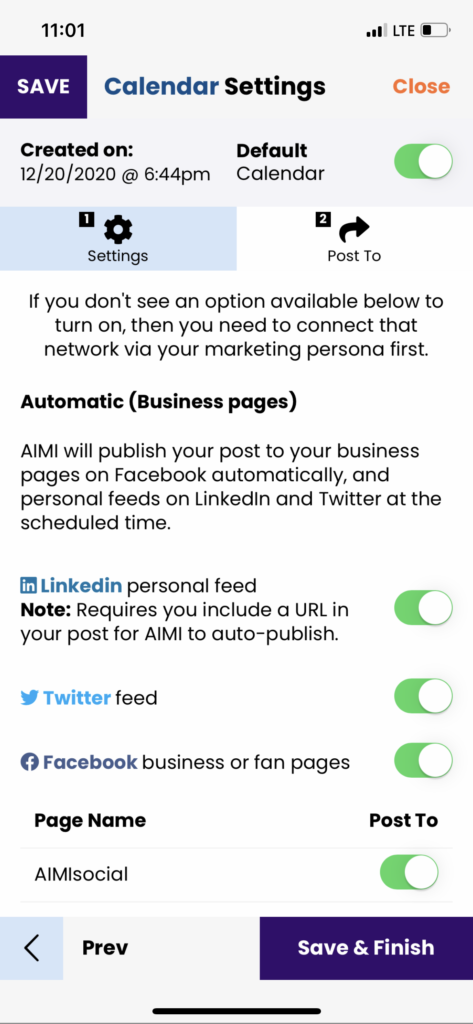
#2: Post To
On this tab is where you assign which social networks and pages you want AIMI to auto-post to whenever post content is scheduled in that calendar.
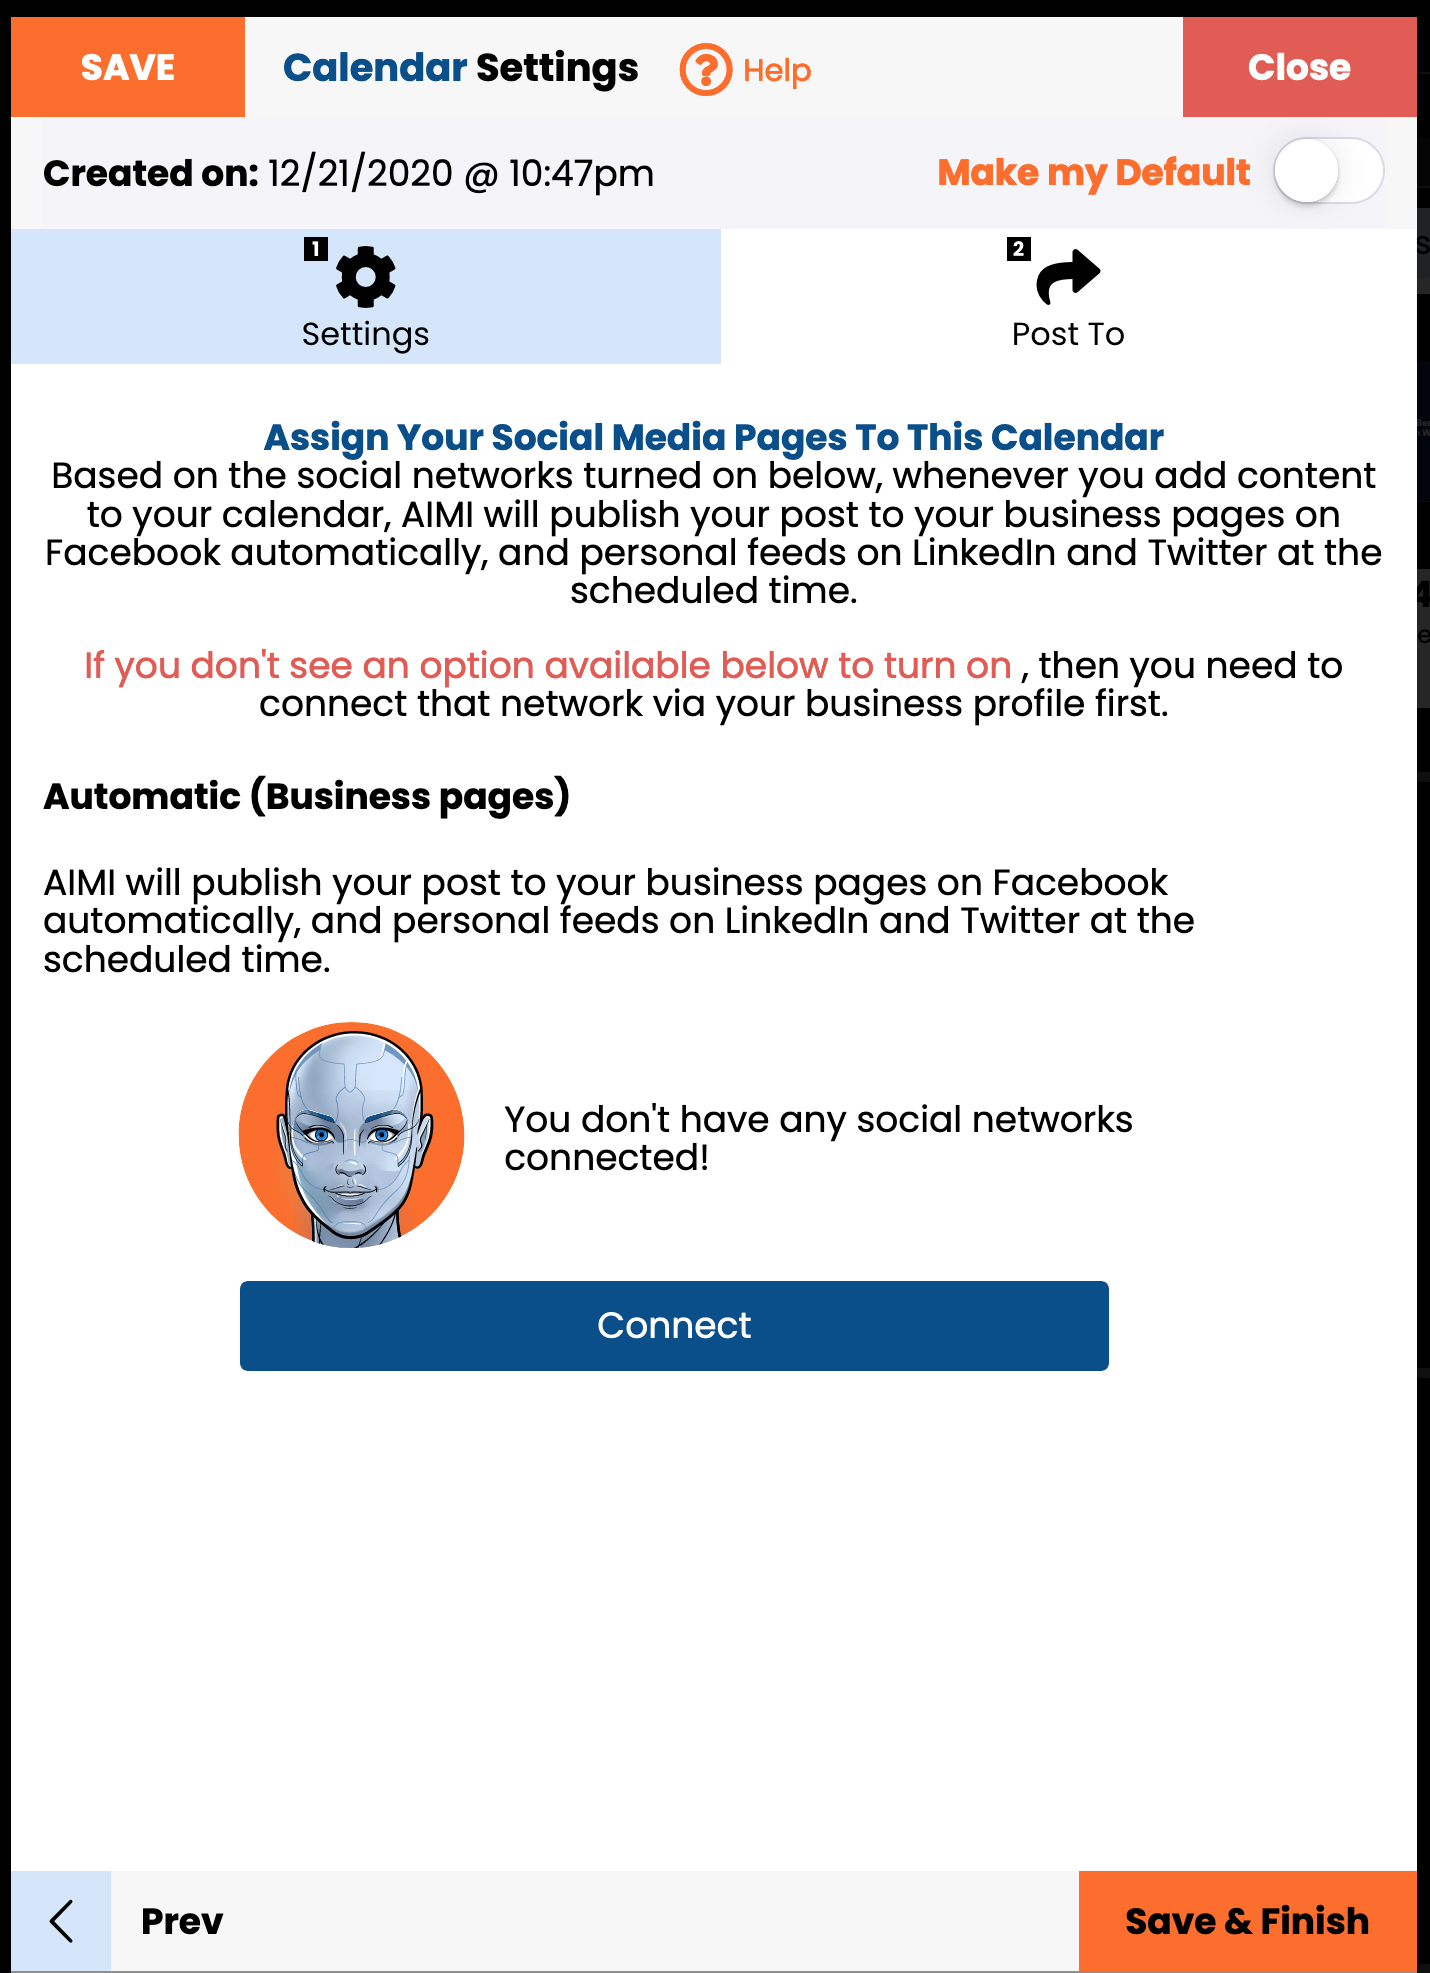
If you have not connected your social networks, click the “connect button” to be redirected to your business profile to connect your social networks.
Once your social networks are connected under this section, you should see all of them available. Make sure you slide on the networks and Facebook pages you want to auto-post to.
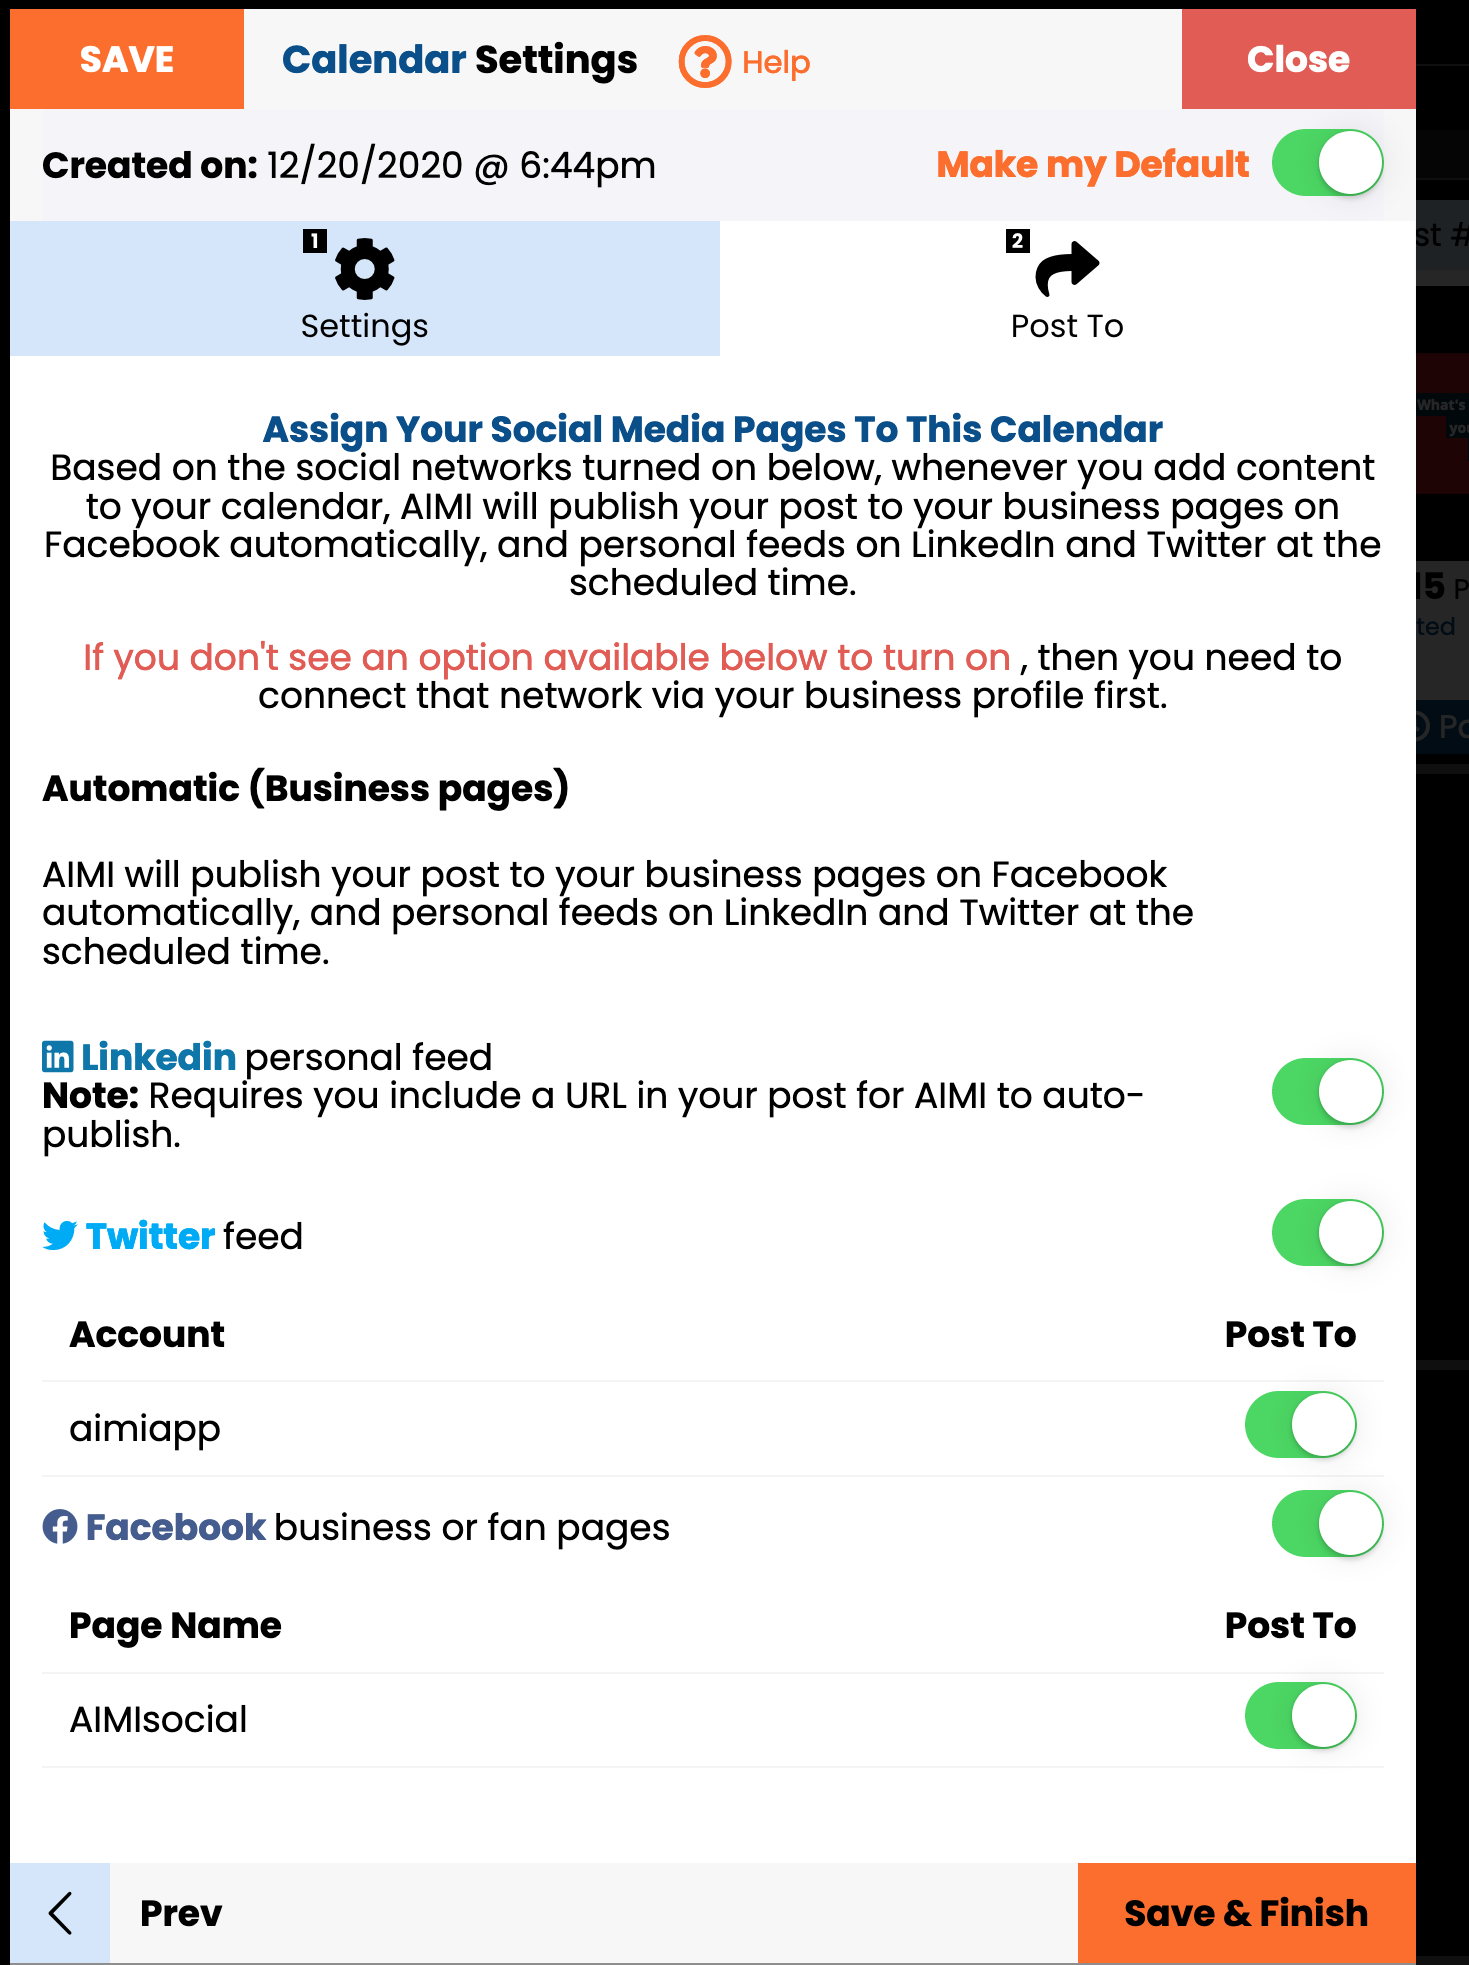
To lock in your changes or updates to the settings always click the “Save”, Next, or “Save & Finish” buttons.
In this article, we will go over campaign settings and how to make a calendar your default calendar.
To gain access to calendar settings click the “settings” tab.
This will open our calendar settings area of the app.
How to make a calendar the default one when you open the app.
Make sure you slide the default option to green. Then click “Save” to lock in the changes. Next time you load the app, it will default to this calendar.
#1: Settings
On tab #1 Settings you can change the calendar name, business profile (persona), and turn on or off “Time Frames” & Auto Build Settings.
#2: Post To
On this tab is where you assign which social networks and pages you want AIMI to auto-post to whenever post content is scheduled in that calendar.
If you have not connected your social networks, click the “connect button” to be redirected to your business profile to connect your social networks.
Once your social networks are connected under this section, you should see all of them available. Make sure you slide on the networks and Facebook pages you want to auto-post to.

To lock in your changes or updates to the settings always click the “Save”, Next, or “Save & Finish” buttons.