In this article, we show you how to use image tags to create custom image collections to use in your campaigns.
You will learn the following:
How to add, edit, or remove a tag.
How to add or remove Images to a tag.
How to add, edit, or remove a tag:
To access the Image Library and image tag click “Image Library” in the top navigation.
Next, click the “Image Tags” section.

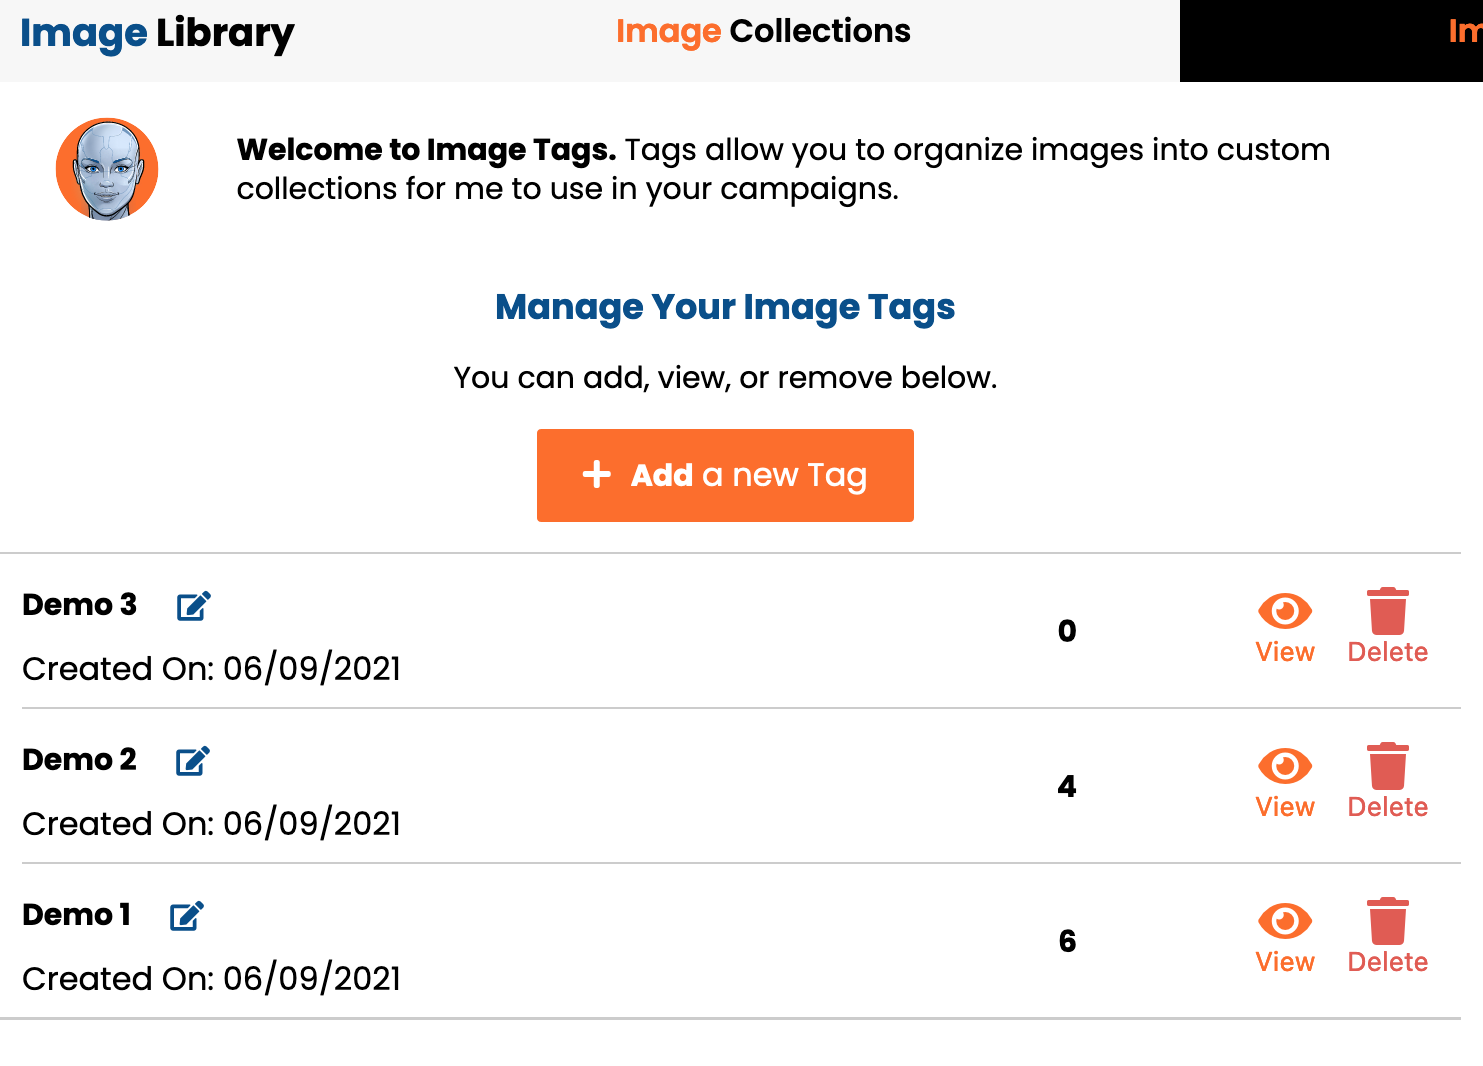
To add a new tag, click the orange button entitled “Add a New Tag.”

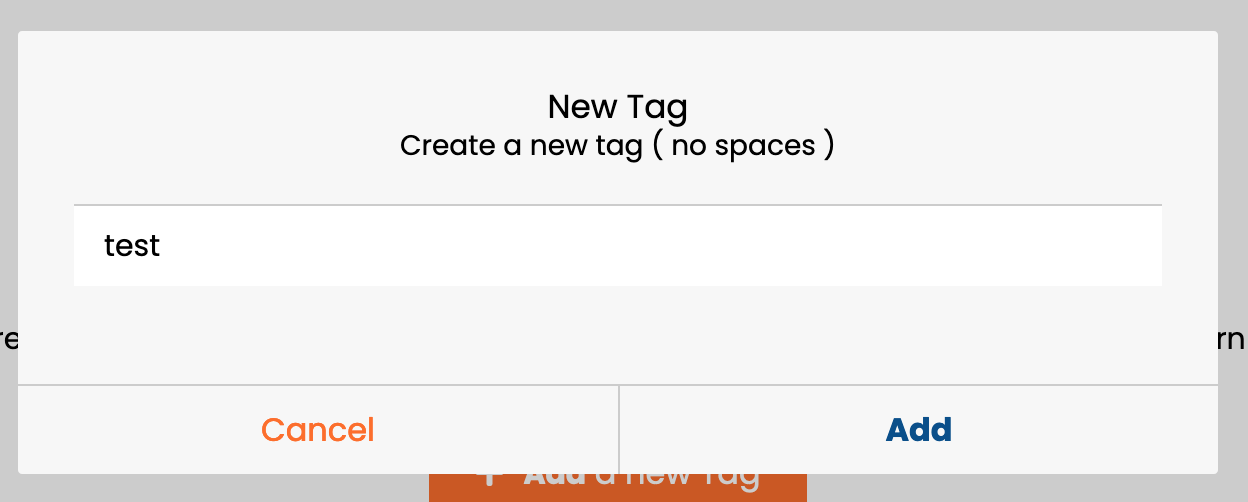
Next, a pop-up box will appear. Give the tag a name with no spaces and click the “Add” button to finalize the process.
You will see a table of all tags on this page you have created. You will see the current amount of images assigned to that tag and when it was created.
To view all images associated with a tag click the “View” button or click the “Delete” button to remove a tag.
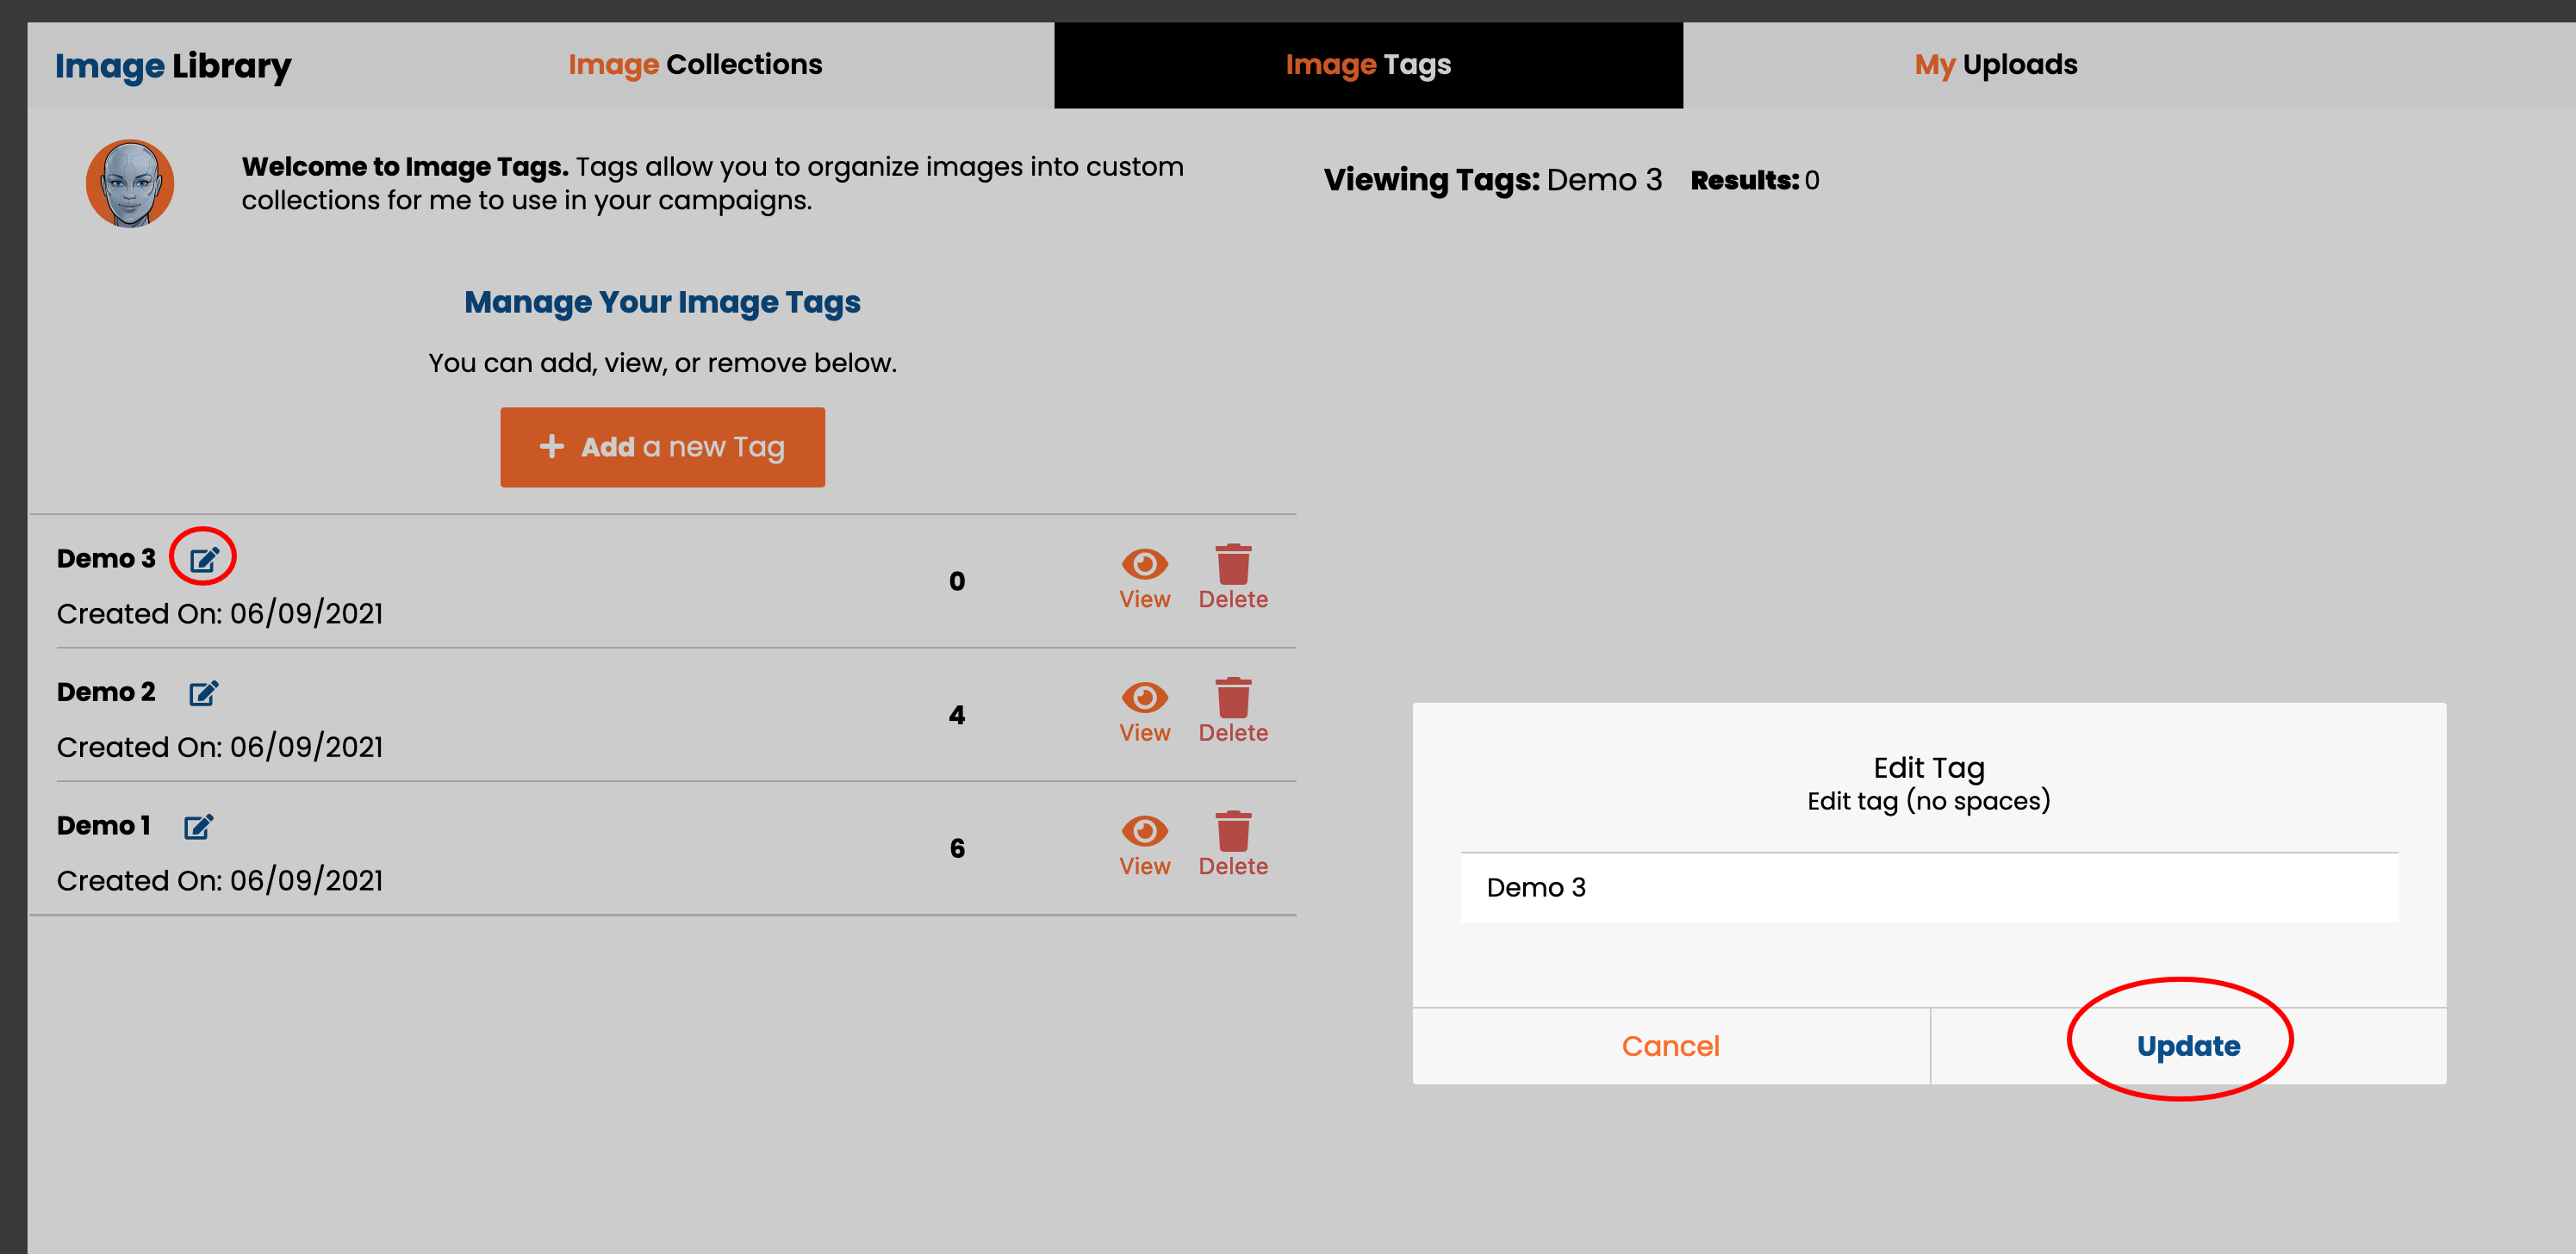
If you want to change the tag’s name, click the “Pencil” icon next to the name. Then change the name in the pop-up modal and click “Update” to lock in your name change.
How to add or remove Images to a tag:
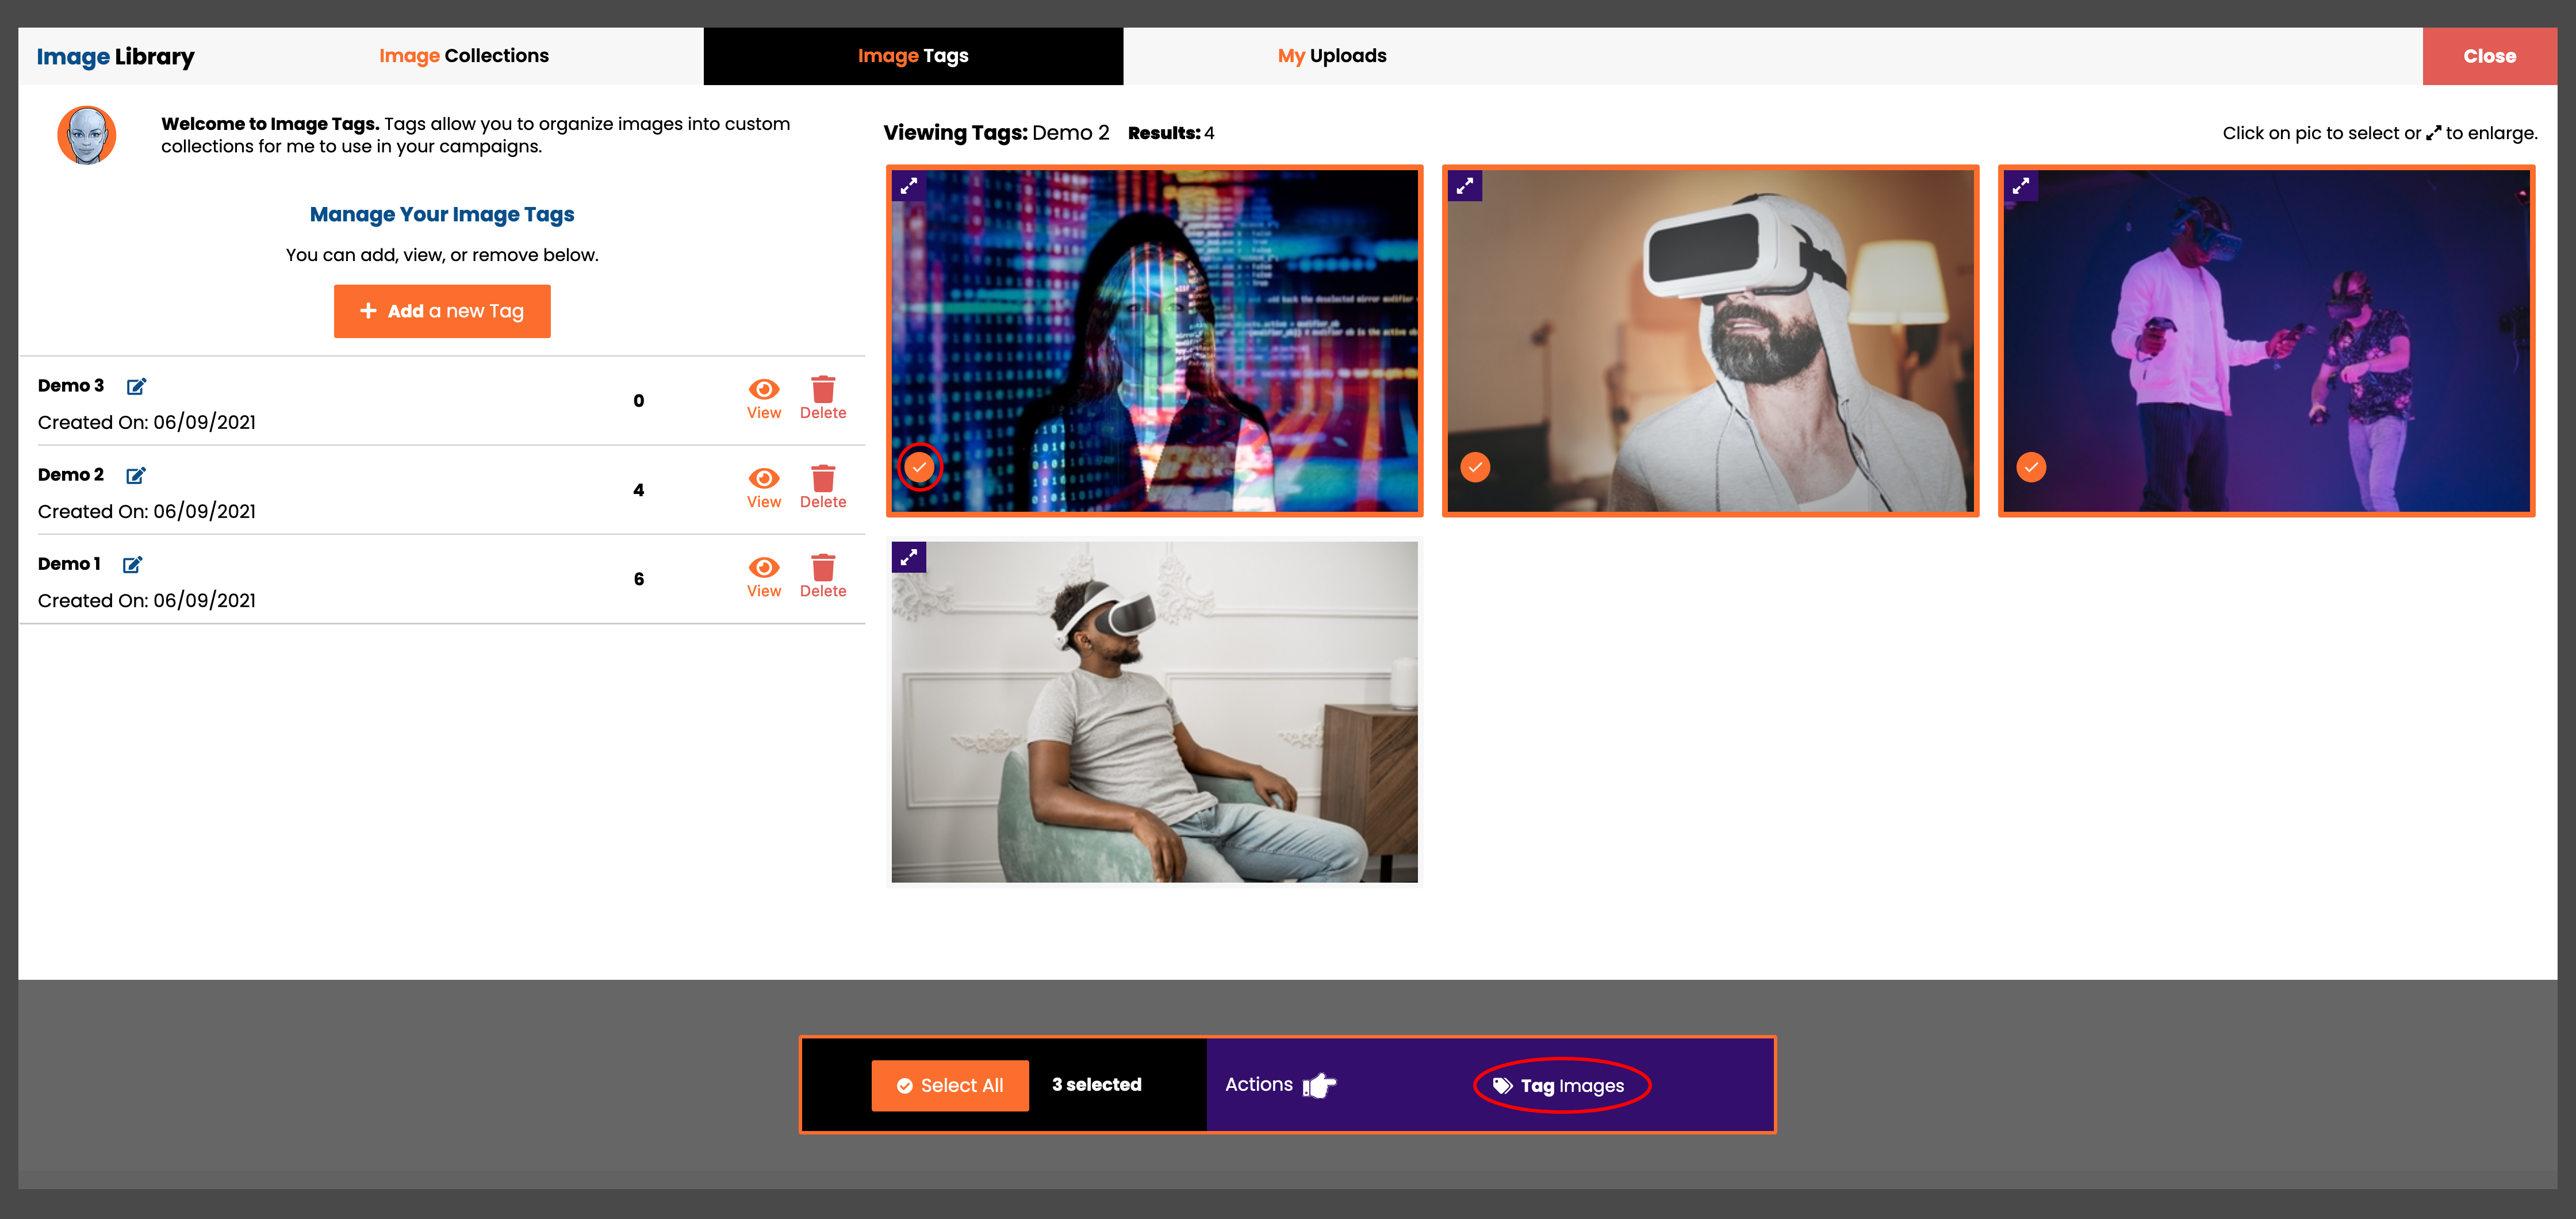
Click on an image thumbnail or multiple images to select them. You will see them selected with the orange check icon and stroke. A menu bar will appear at the bottom of the page with an option to “tag images”. Once you are ready to tag, click that button.
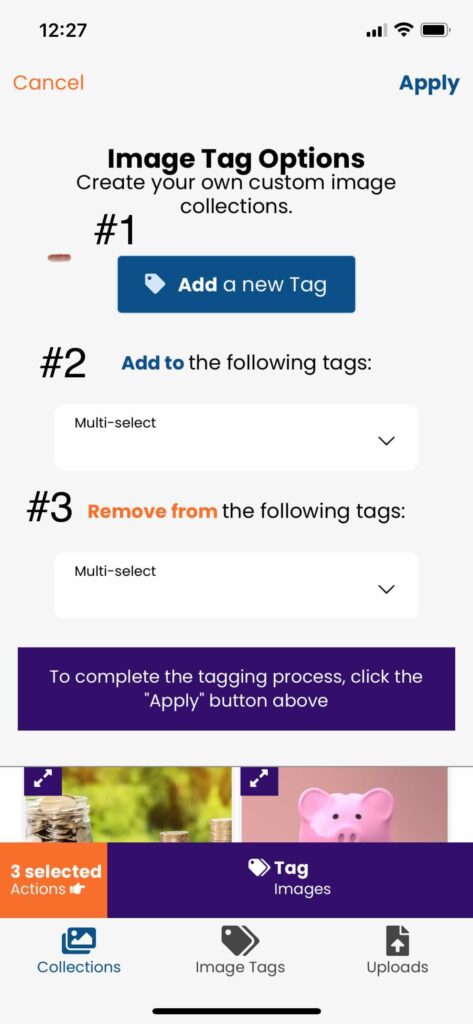
Next, the “Image Tag Options” menu will appear.
Item#1: This allows you to add/create a new tag to use to assign your selected images (as explained above).
Item#2: Click the “Add to” menu to select which tags you want to assign the images. You can assign the images to multiple tags at one time.
Item#3: Click the “Remove From” menu to select which tags you want to assign the images to. You can remove the images from multiple tags at one time.
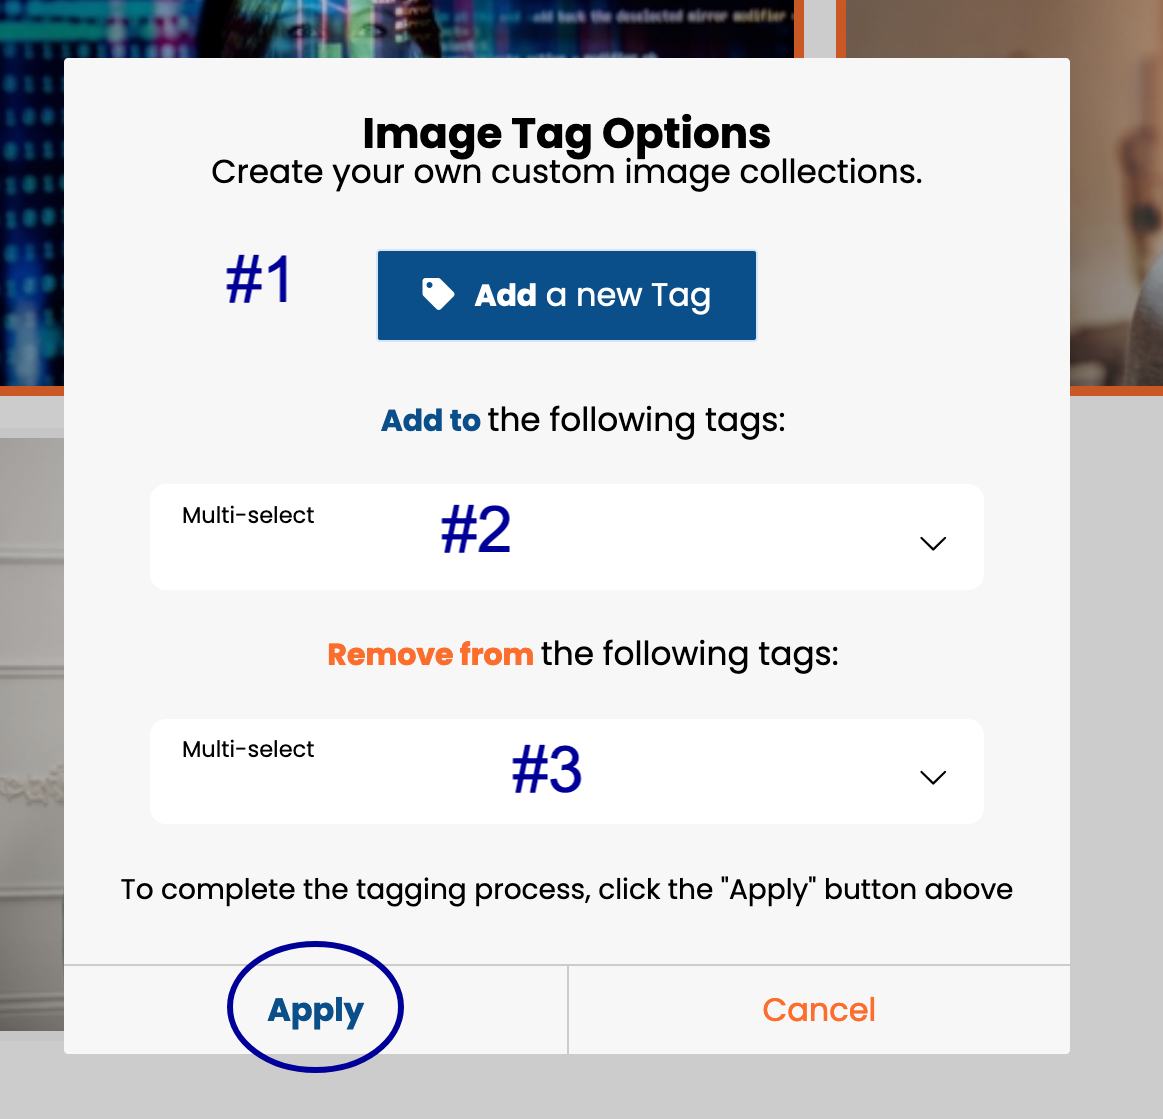
Click the “Apply” button for the app to add or remove tags based on your selections.
If you want to learn how to use custom collections (image tags) in your campaigns please read this training:
How To Use Custom Collections (Image Tags) In Your Campaigns
In this article, we show you how to use image tags to create custom image collections to use in your campaigns.
You will learn the following:
How to add, edit, or remove a tag.
How to add or remove Images to a tag.
How to add, edit, or remove a tag:
To access the Image Library and image tag click “Image Library” in your bottom navigation.
Next, click the “Image Tags” section.
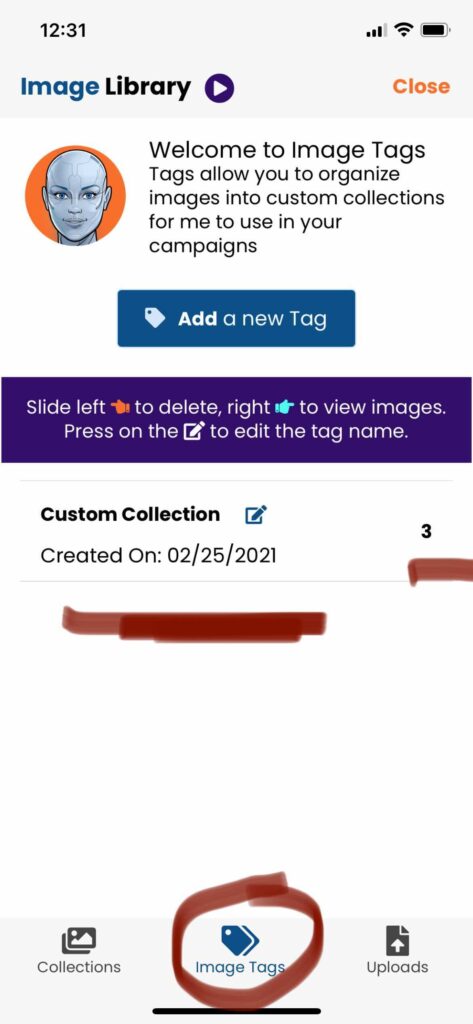
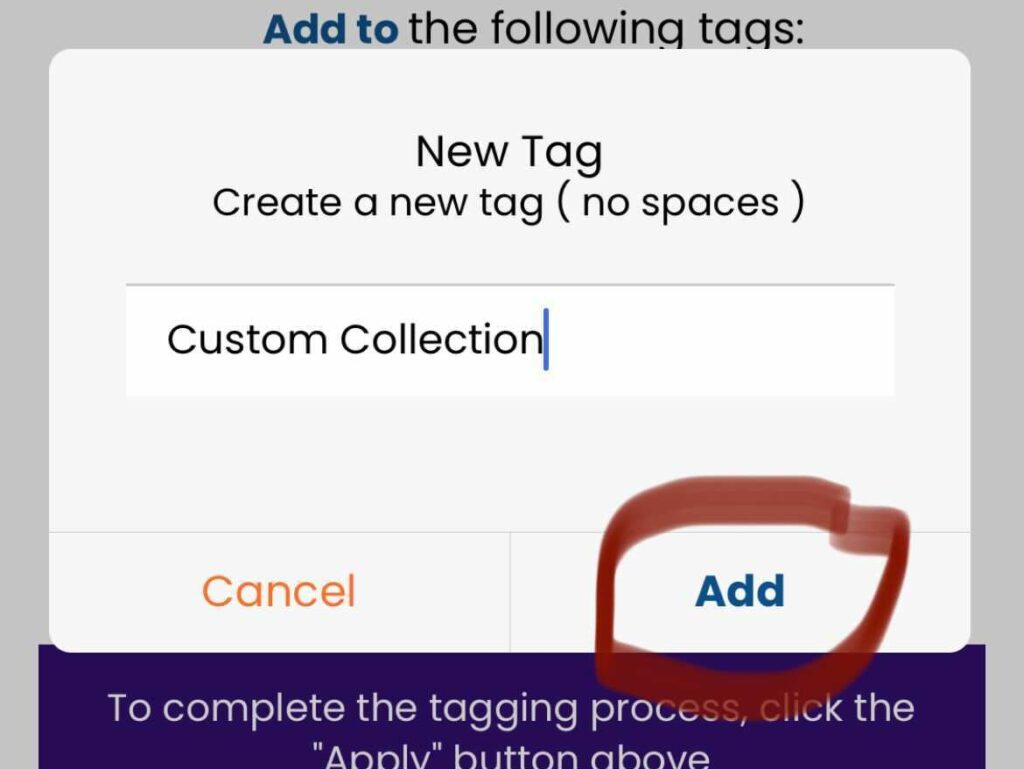
To add a new tag, click the blue button entitled “Add a New Tag.”
Next, a pop-up box will appear. Give the tag a name with no spaces and click the “Add” button to finalize the process.
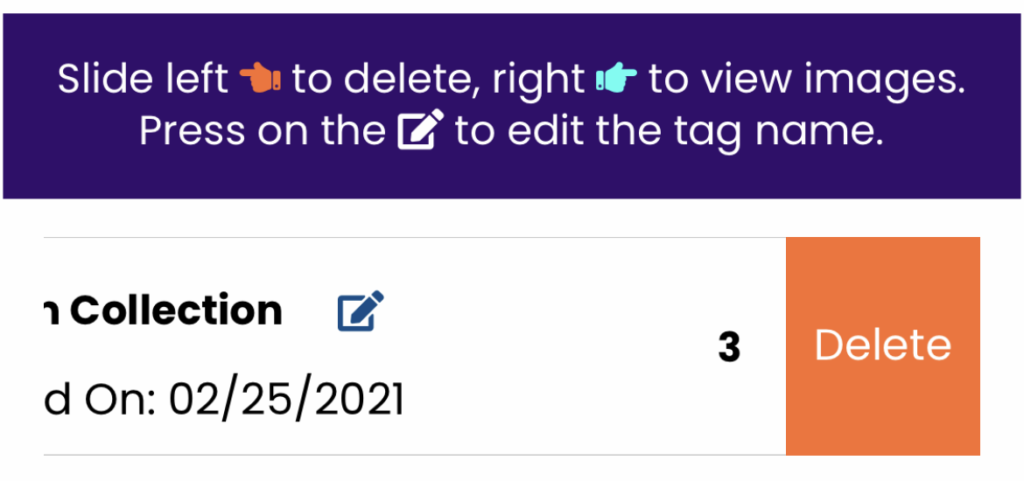
You will see a table of all tags on this page you have created. You will see the current amount of images assigned to that tag and when it was created.
Use your finger and slide the table entry to the right to view the images associated with that tag.
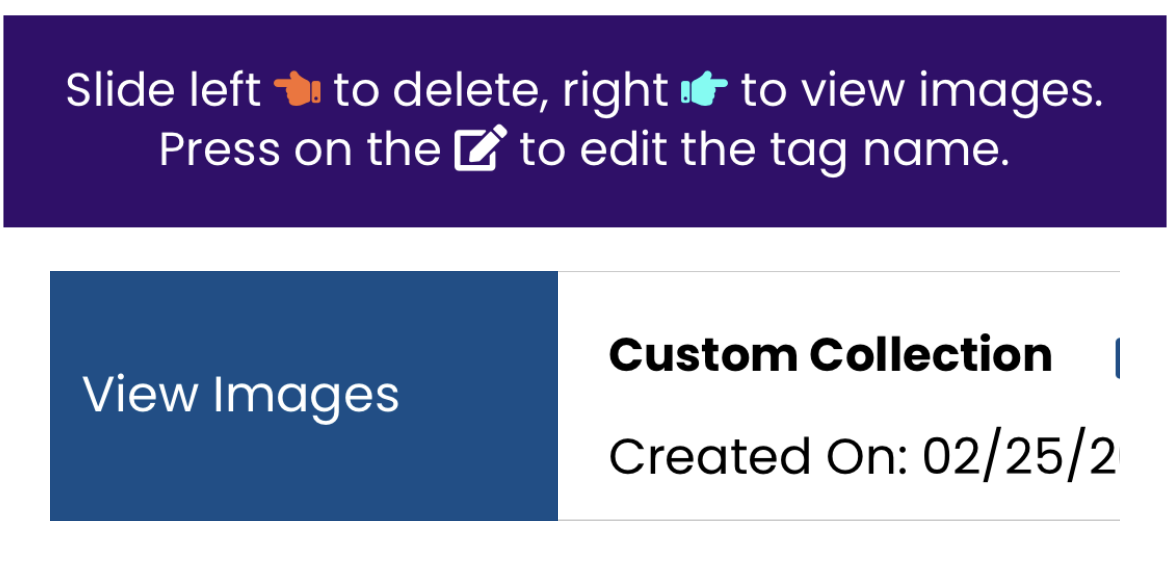
Delete a tag, use your finger, slide the table entry to the left, and then click “Delete” and confirm.
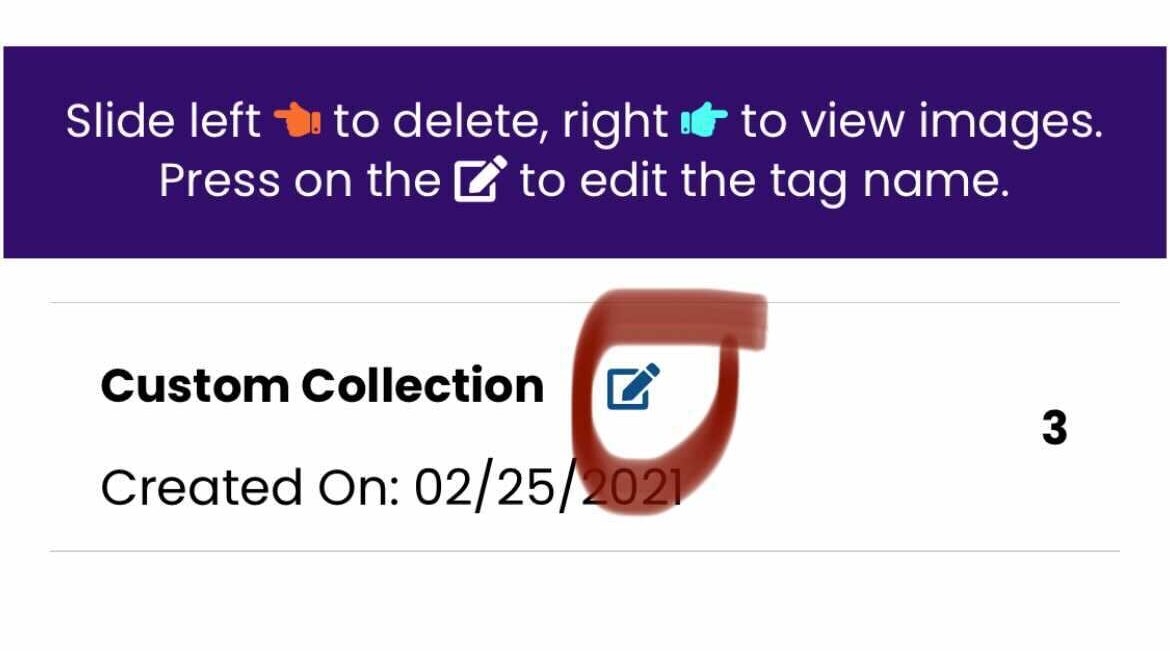
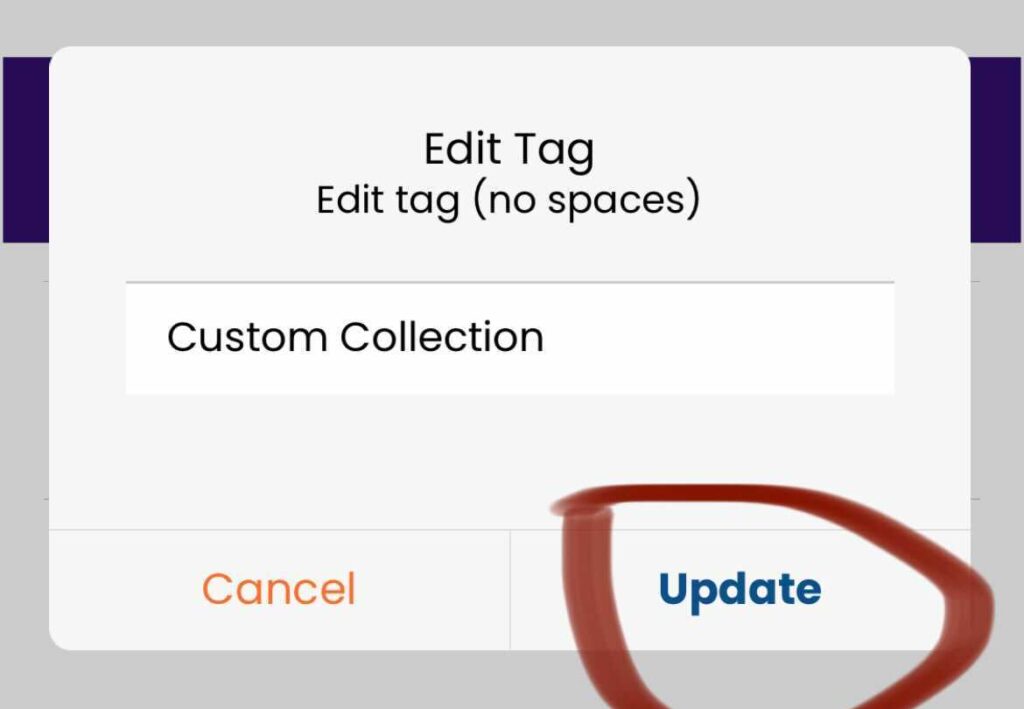
If you want to change the tag’s name, click the “Pencil” icon next to the name. Then change the name in the pop-up modal and click “Update” to lock in your name change.
How to add or remove Images to a tag:
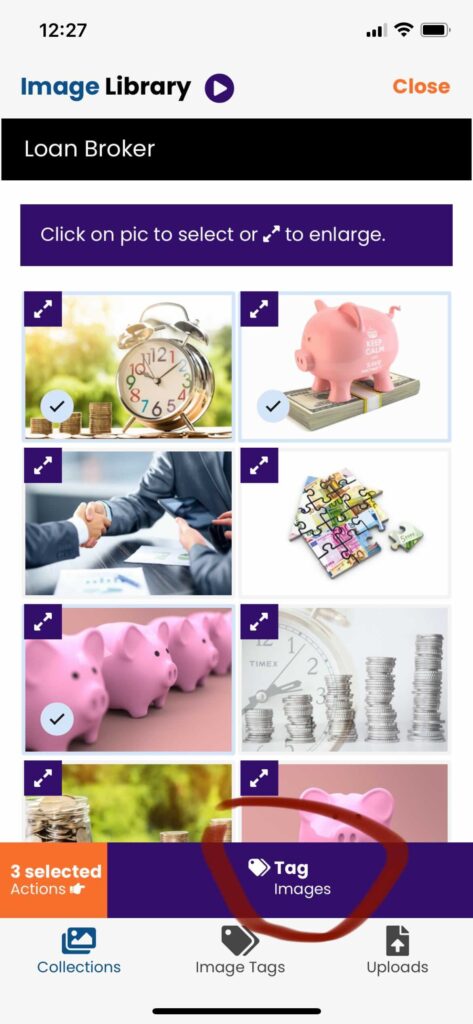
Click on an image thumbnail or multiple images to select them. You will see them selected with the blue check icon. A menu bar will appear at the bottom of the page with an option to “tag images”. Once you are ready to tag, click that button.
Next, the “Image Tag Options” menu will appear.
Item#1: This allows you to add/create a new tag to use to assign your selected images (as explained above).
Item#2: Click the “Add to” menu to select which tags you want to assign the images. You can assign the images to multiple tags at one time.
Item#3: Click the “Remove From” menu to select which tags you want to assign the images to. You can remove the images from multiple tags at one time.
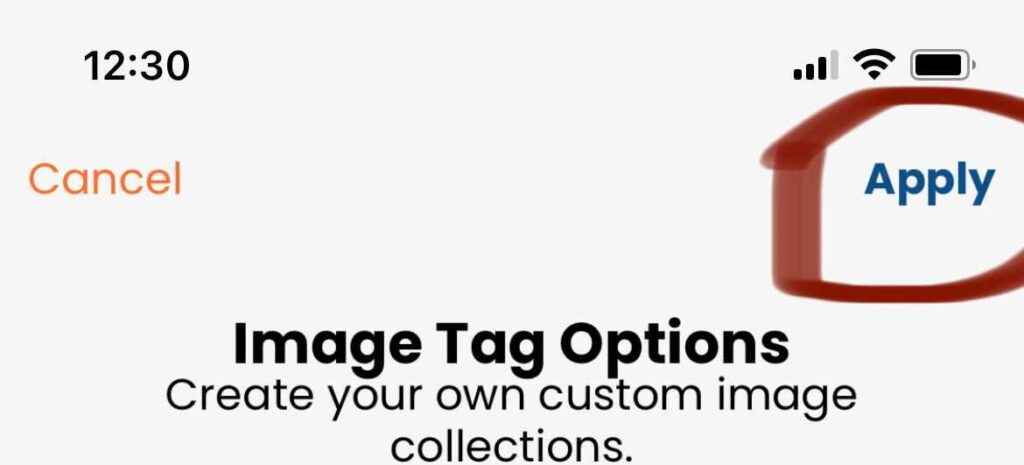
Click the “Apply” button for the app to add or remove tags based on your selections.
If you want to learn how to use custom collections (image tags) in your campaigns please read this training:
How To Use Custom Collections (Image Tags) In Your Campaigns