In this article, we will show you how to add a custom post to your calendar.
To add a custom post you can do it one of two ways:
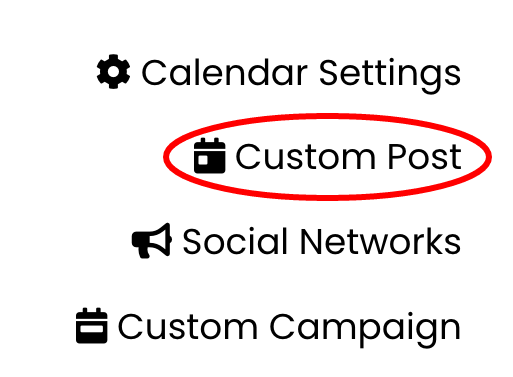
A: By clicking the “Custom Post” button in your calendar sidebar menu.
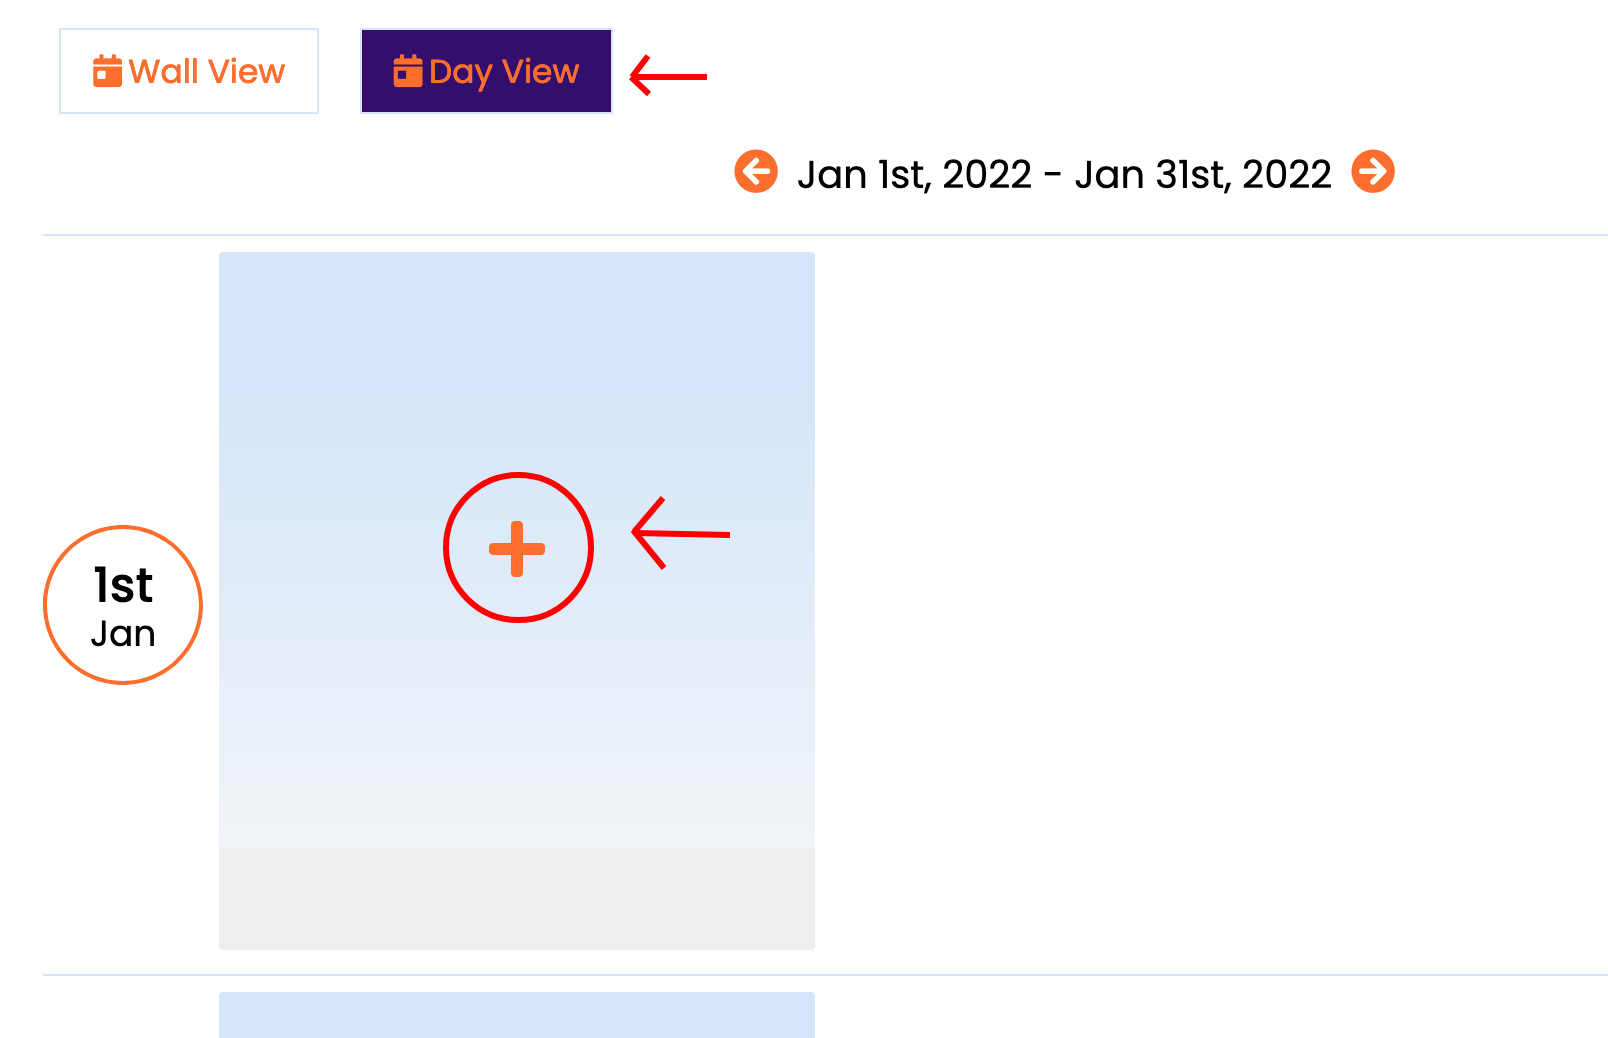
B: By clicking the + icon in an empty section of your calendar when you are in the “Day View” area of the calendar.
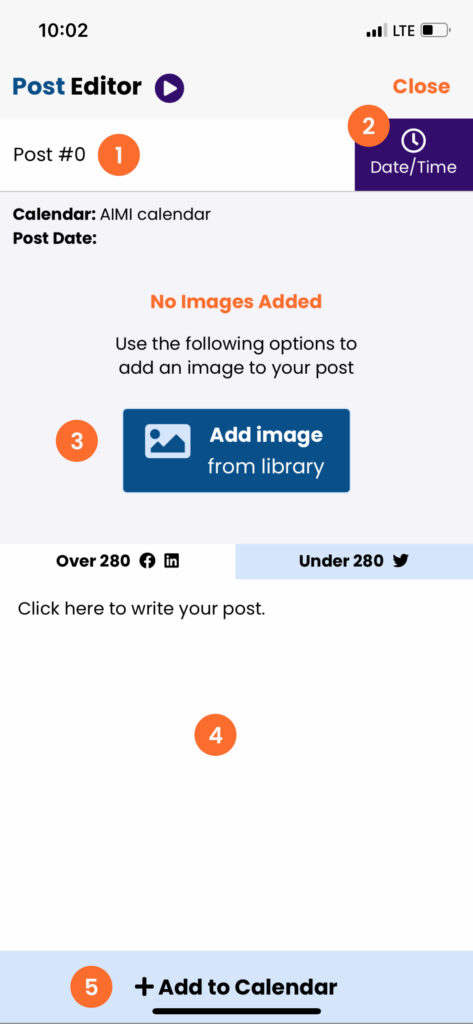
Next, the app will open our custom post editor. There are 5 steps to do in order to add a custom post.
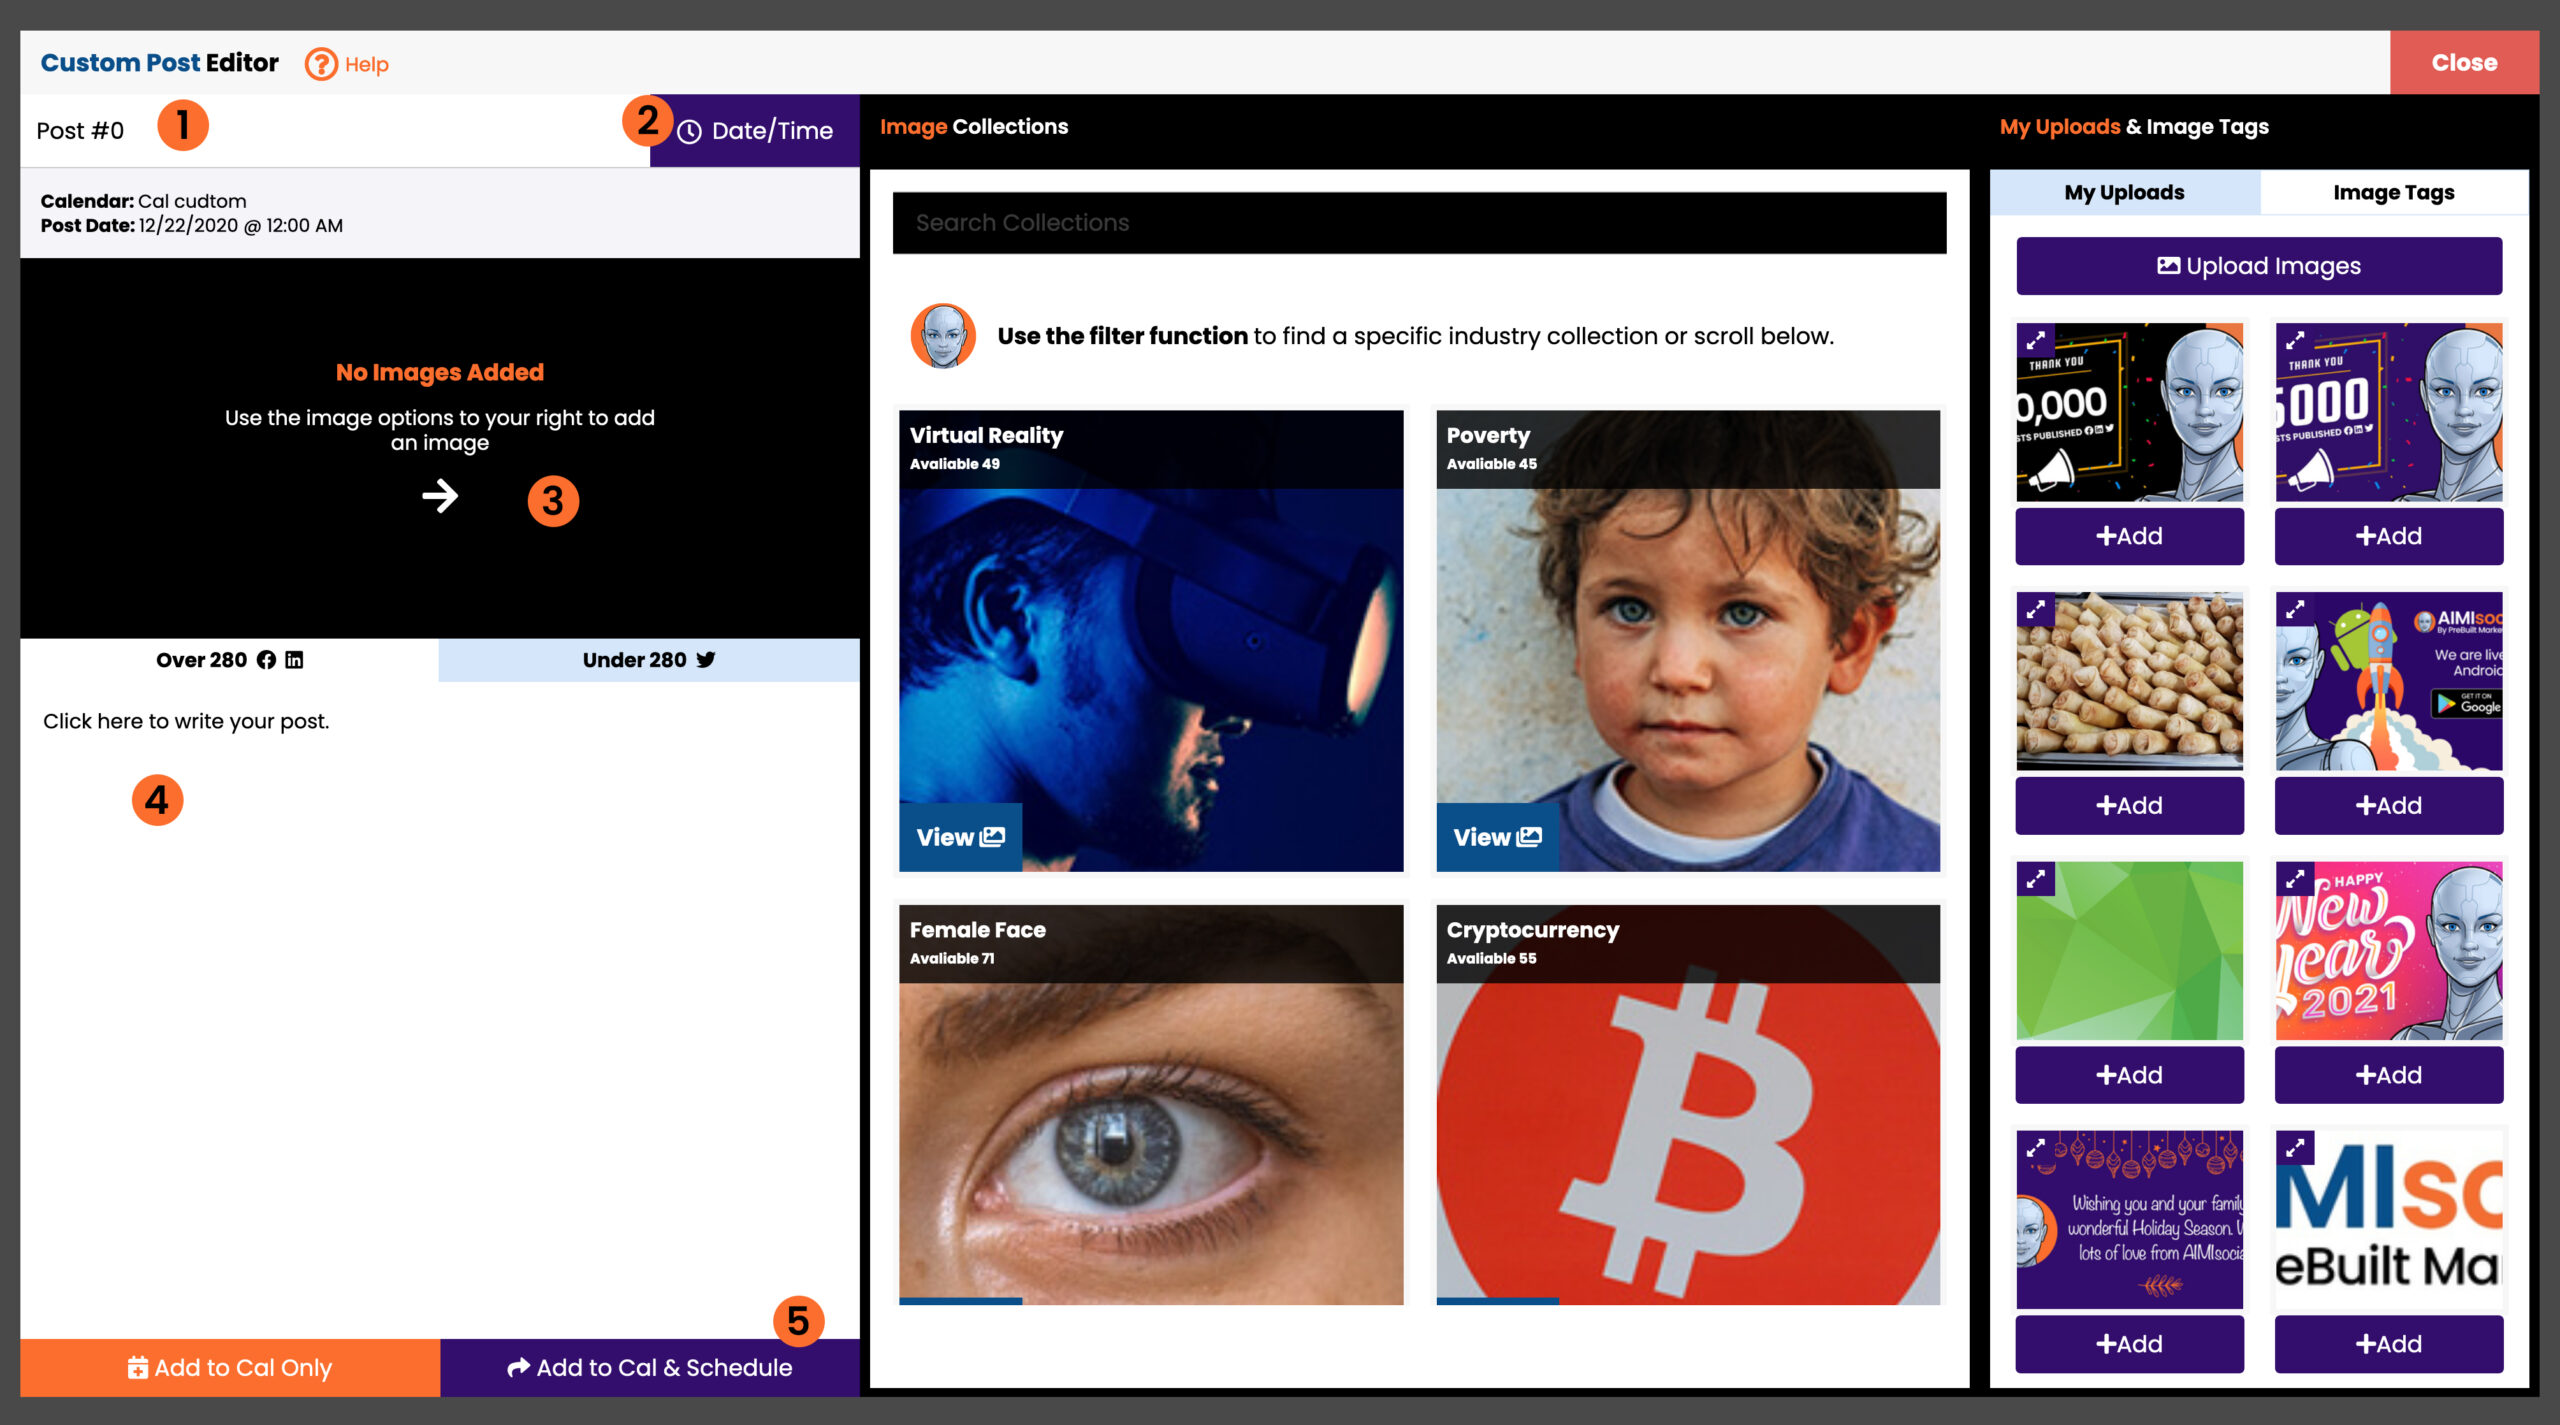
#1: Post Name
This is optional; by default, we add a name in the field, but it is best to give the post a unique name to keep you better organized.
#2: Date/Time
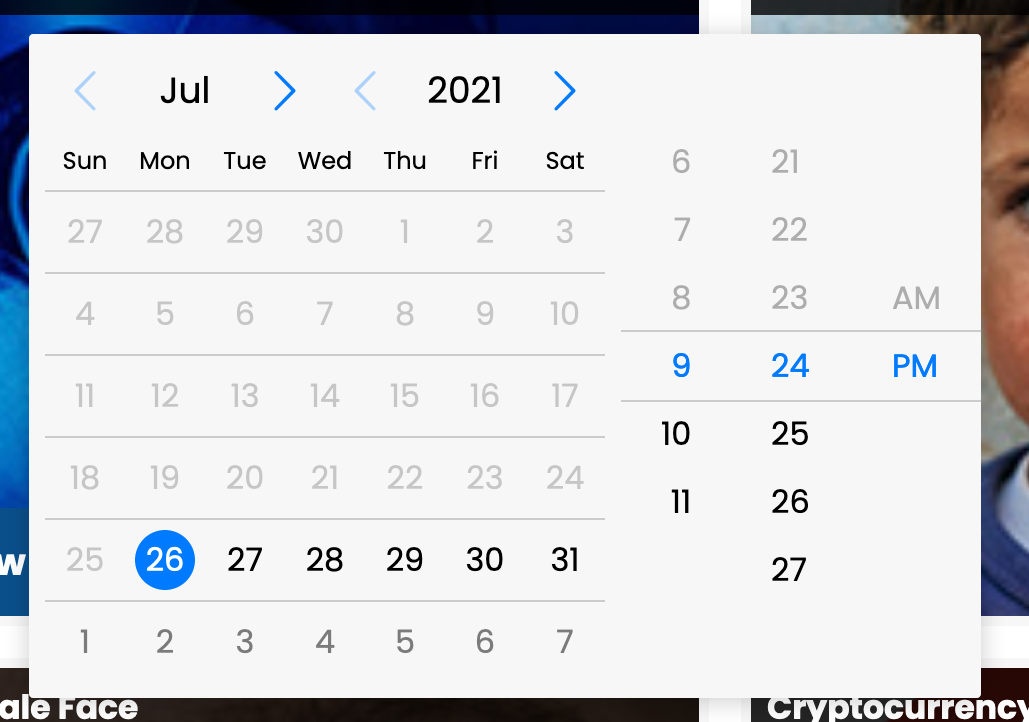
It is required that you set a day and time that the post is to be scheduled for. Click the “Date/Time” button.
This will open our date picker and time selection menu. Make your changes and click out side the menu to lock in your changes.
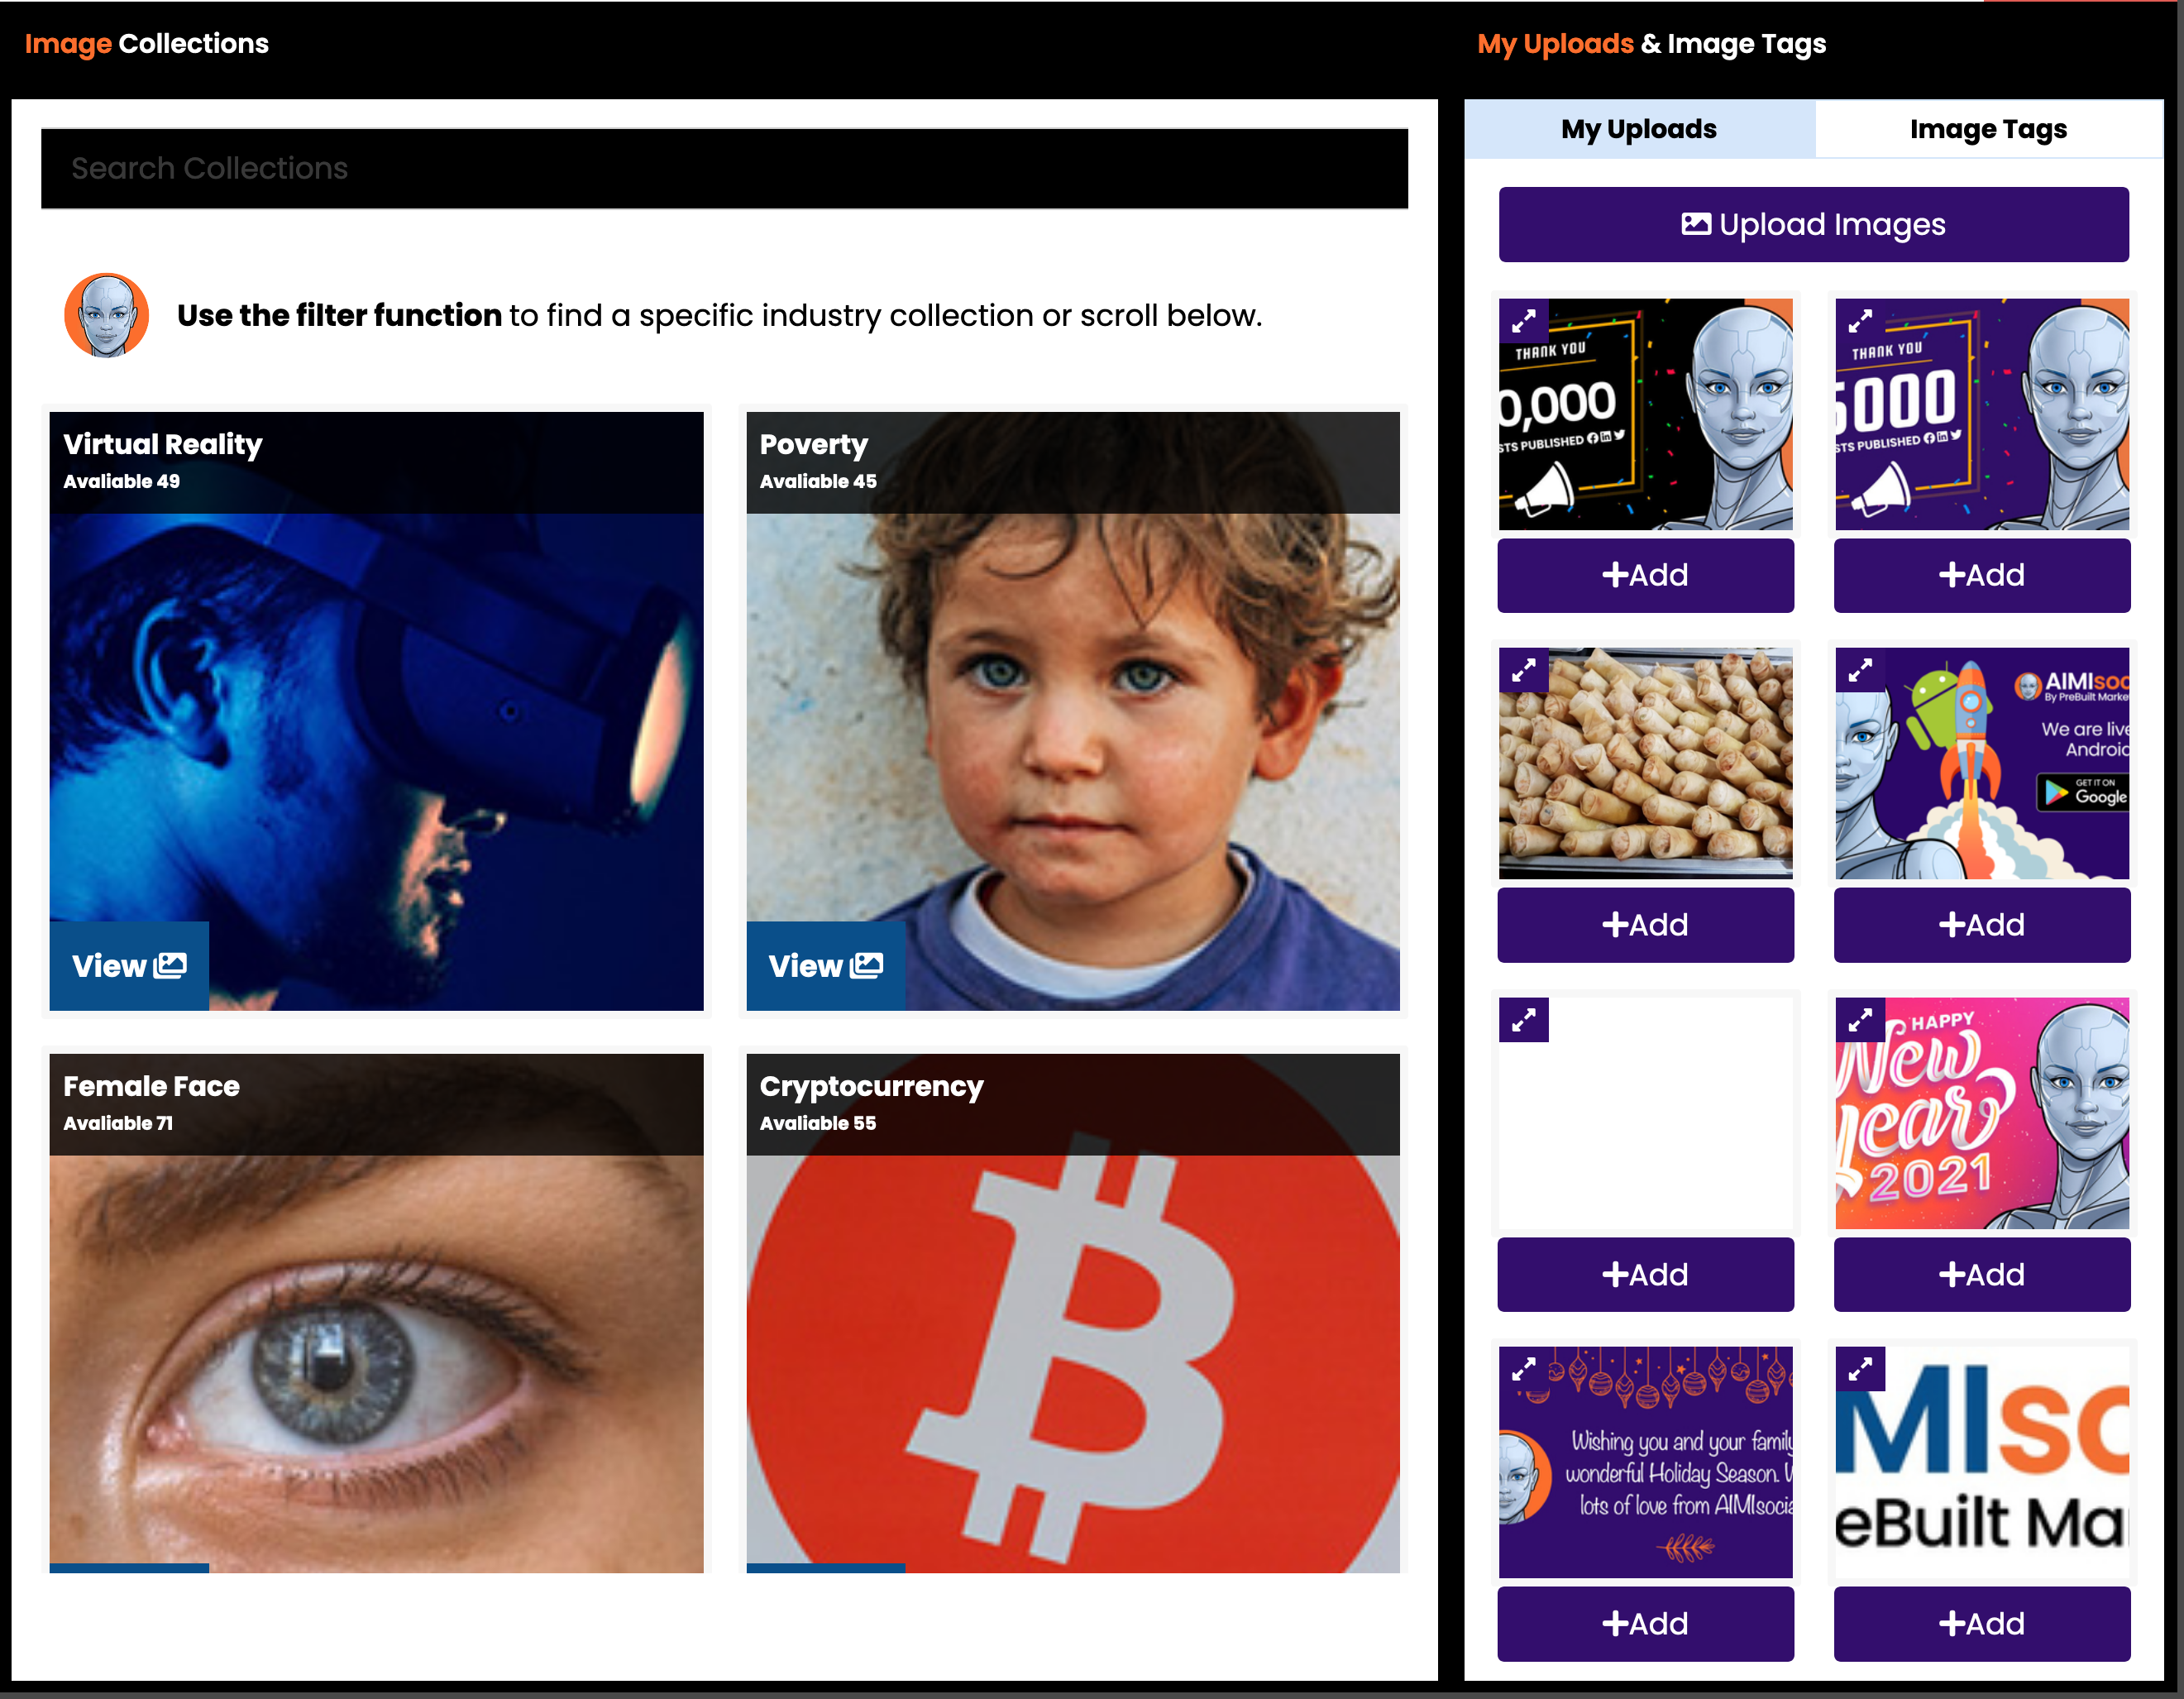
#3: Add Image
Use the “Image collections” section to add an image from our stock library. Or you can use the “Image Tags” or “My Uploads” section to add a custom image.
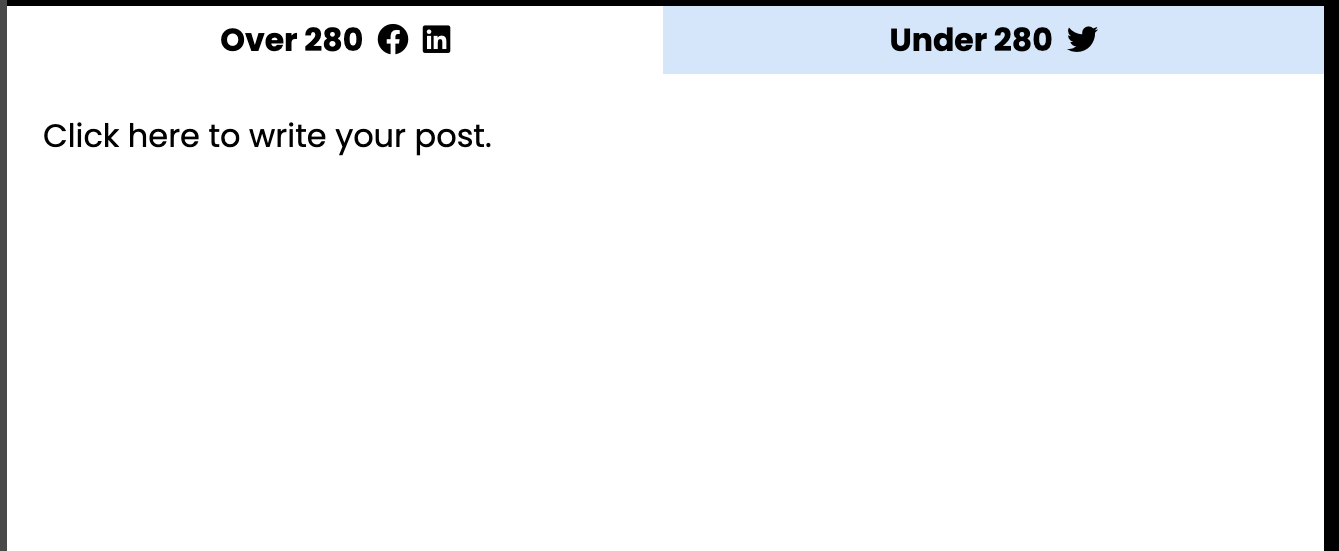
#4: Text Area
This is where you add your custom text.
When you are finished you can click the “Add To Cal Only” button this will save your custom post and add it to your calendar without scheduling it. Or you can click “Add to Cal & Schedule” this will add it and schedule your post.

In this article, we will show you how to add a custom post to your calendar.
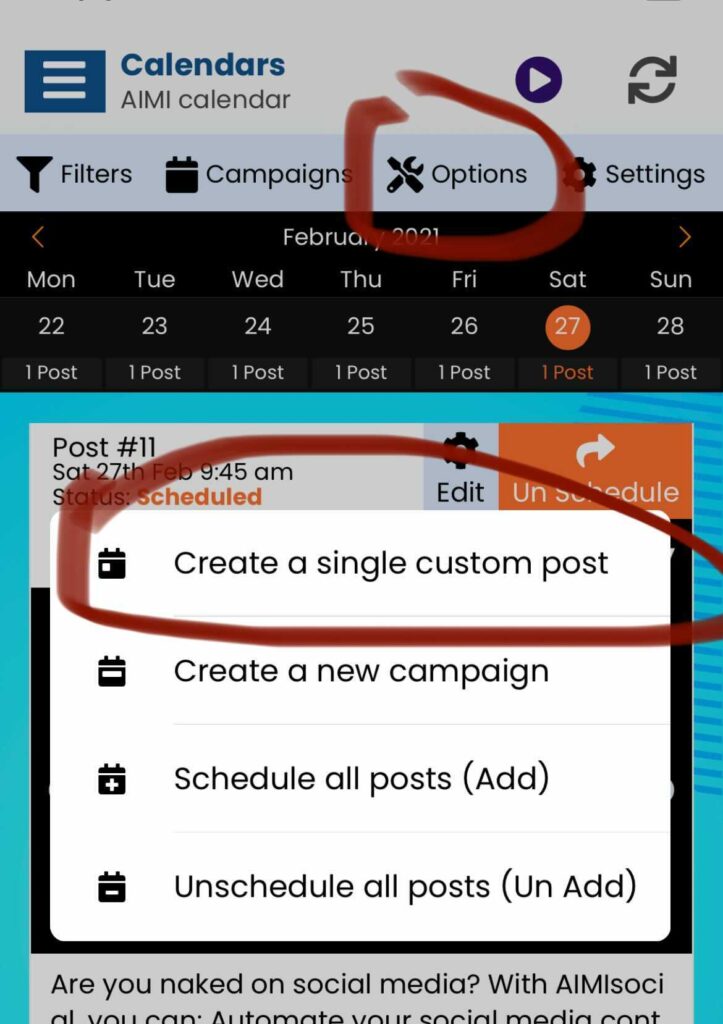
To add a custom post first you need to click the “Options” button and then click “Create a single custom post”.
Next, the app will open our custom post editor. There are 5 steps to do in order to add a custom post.
#1: Post Name
This is optional; by default, we add a name in the field, but it is best to give the post a unique name to keep you better organized.
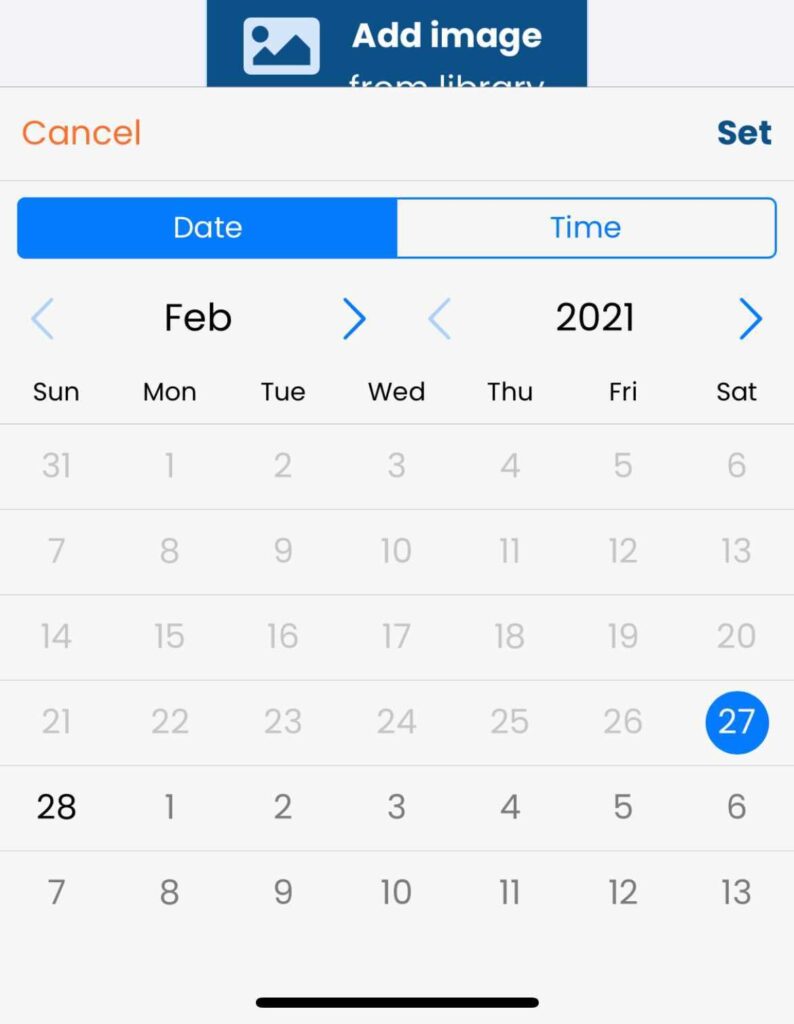
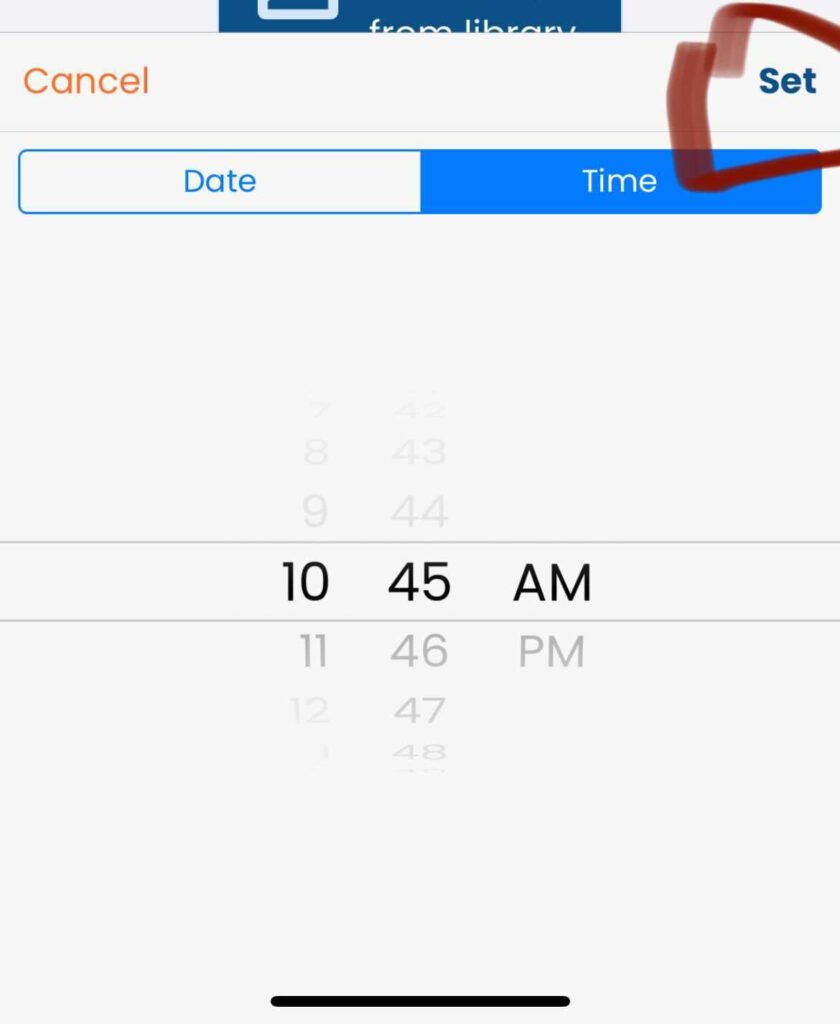
#2: Date/Time
It is required that you set a day and time that the post is to be scheduled for. Click the “Date/Time” button.
This will open our date picker and time selection menu. Make your changes and click “Set.”
#3: Add Image
Click the button to open the “Image Library” where you can add an image from our image collections, your image tags, or image uploads. To learn how to use the image library here are some pieces of training: https://helpdesk.aimisocial.com/section/image-library/
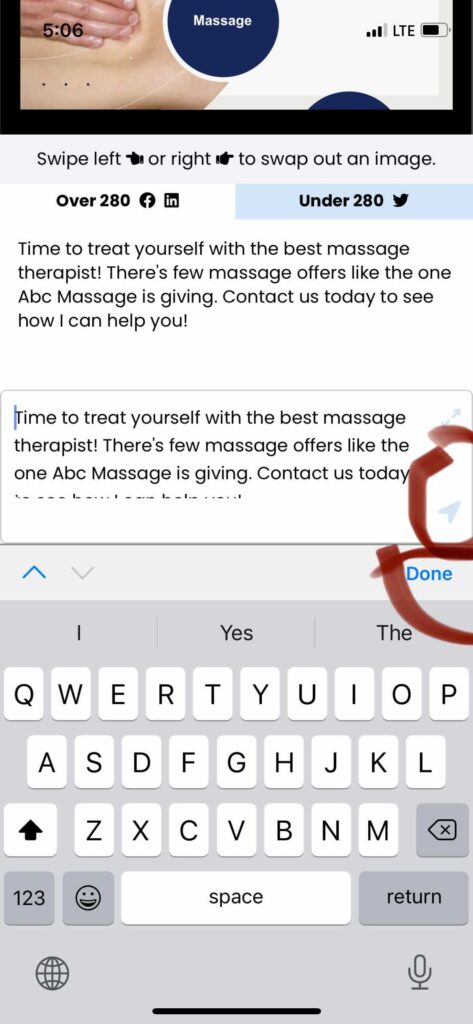
#4: Text Area
This is where you add your custom text. Click on the text to open the text editor write your content (You can also use your phone’s “Speak to text” feature).
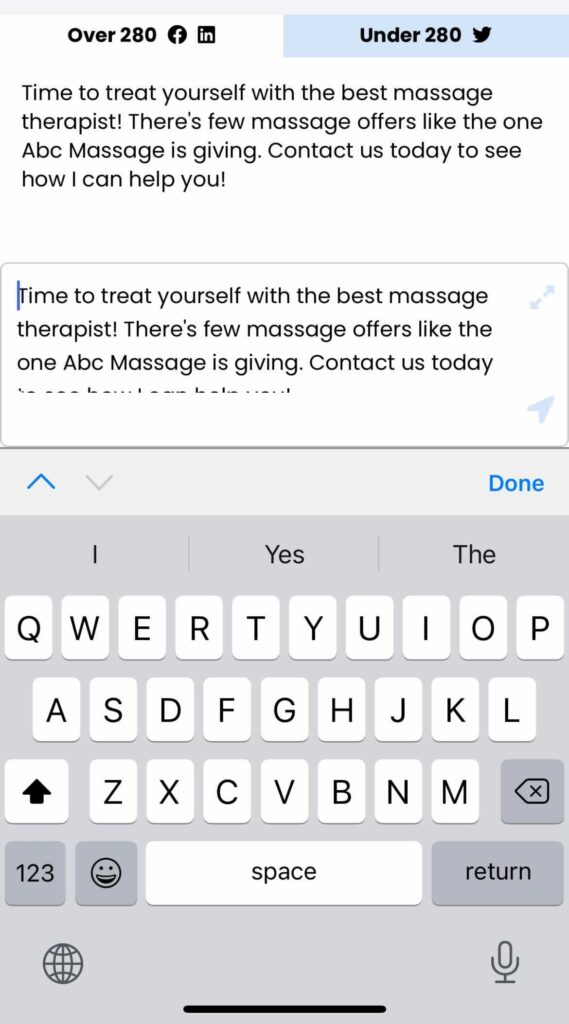
Click on the “Expand” icon to make the editor area larger.
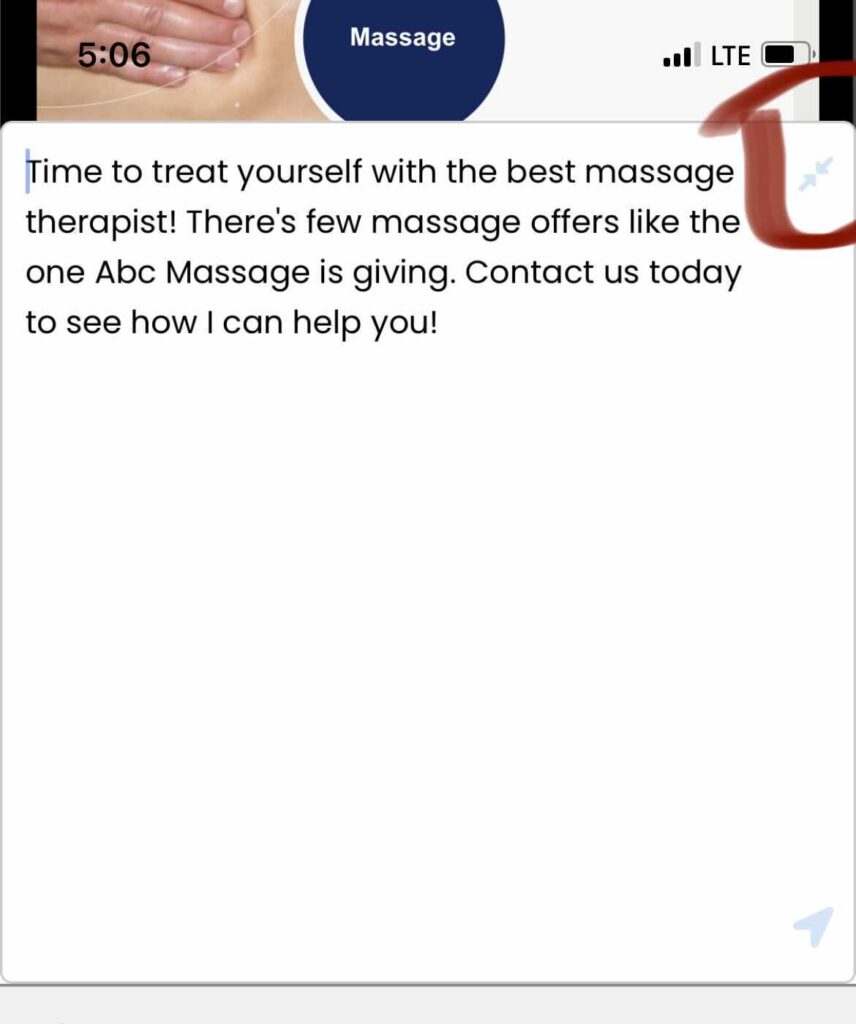
When you are done click either the “Arrow” or “Done” Button.
When you are finished click the “Add To Calendar” button this will save your custom post and add it to your calendar.
 The final step is for you to schedule your custom post in your calendar.
![]()