In this article, we will show you how to add and remove calendars from your account.
First, load your calendar table by clicking the “My Calendar” button in the top navigation.

This will open up your calendar table.
To View & Delete A Calendar
Use your mouse and click the “View” or “Trash” icon next to your table entry.
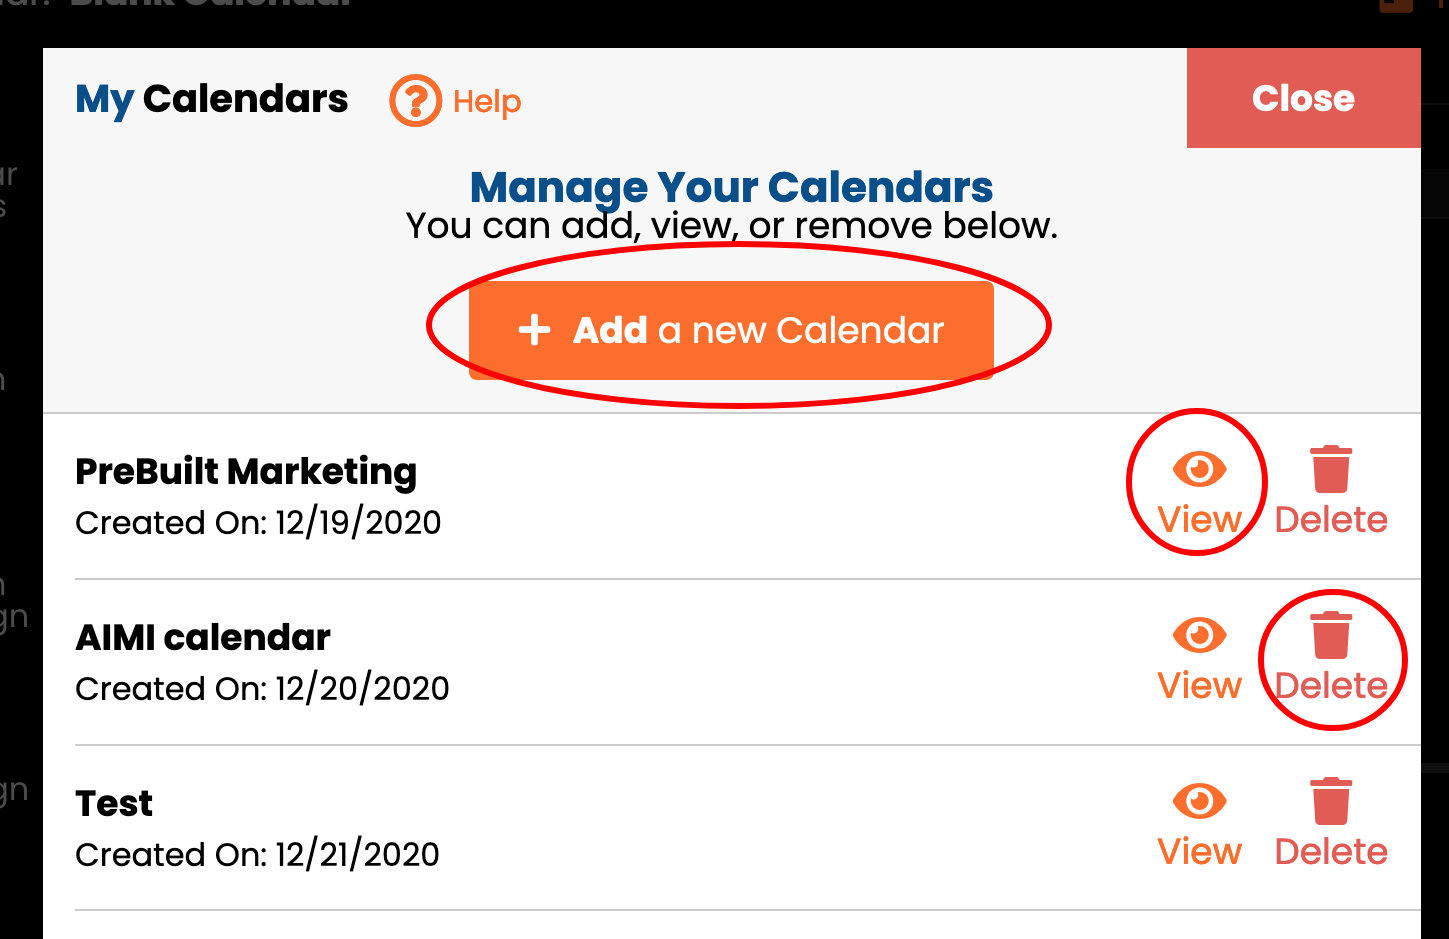
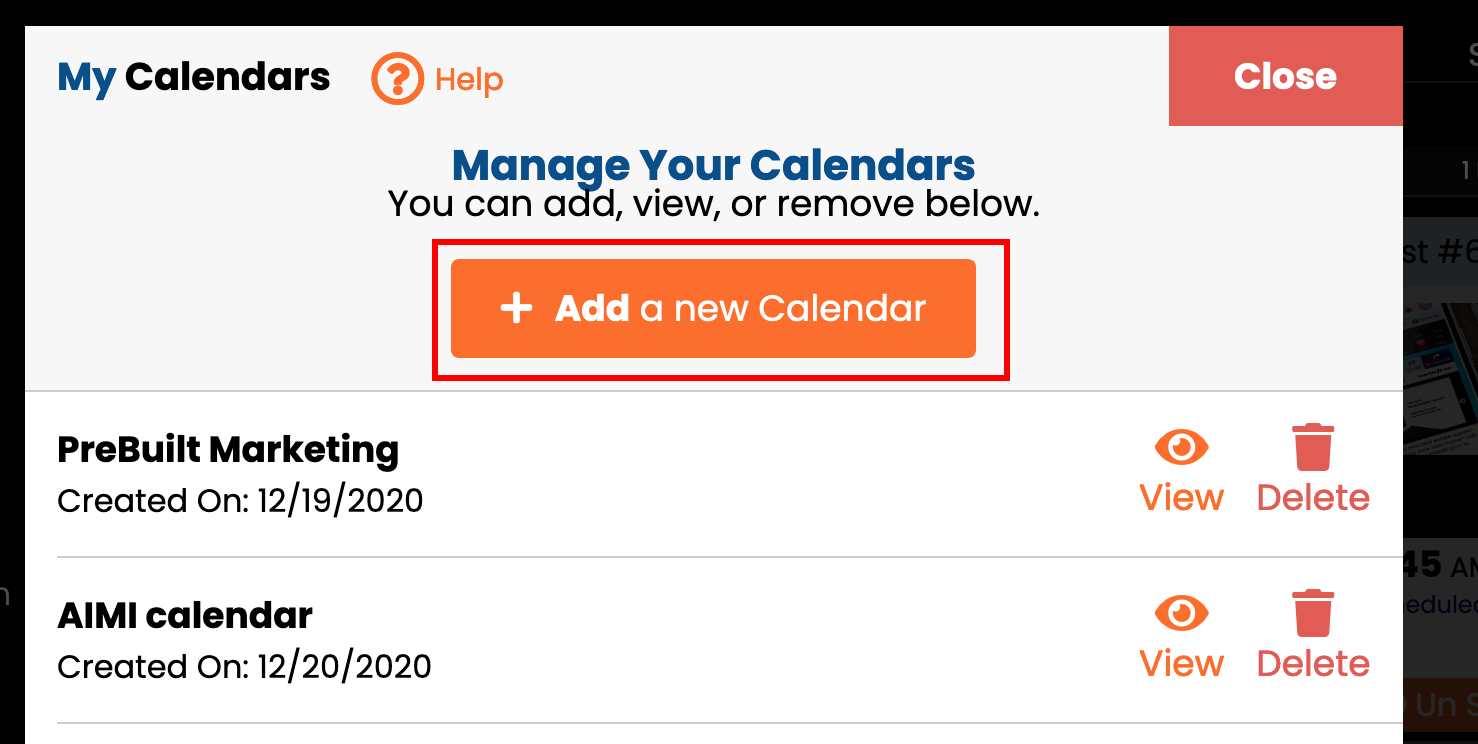
How to create/add a new calendar
Click “New” to create a new calendar.
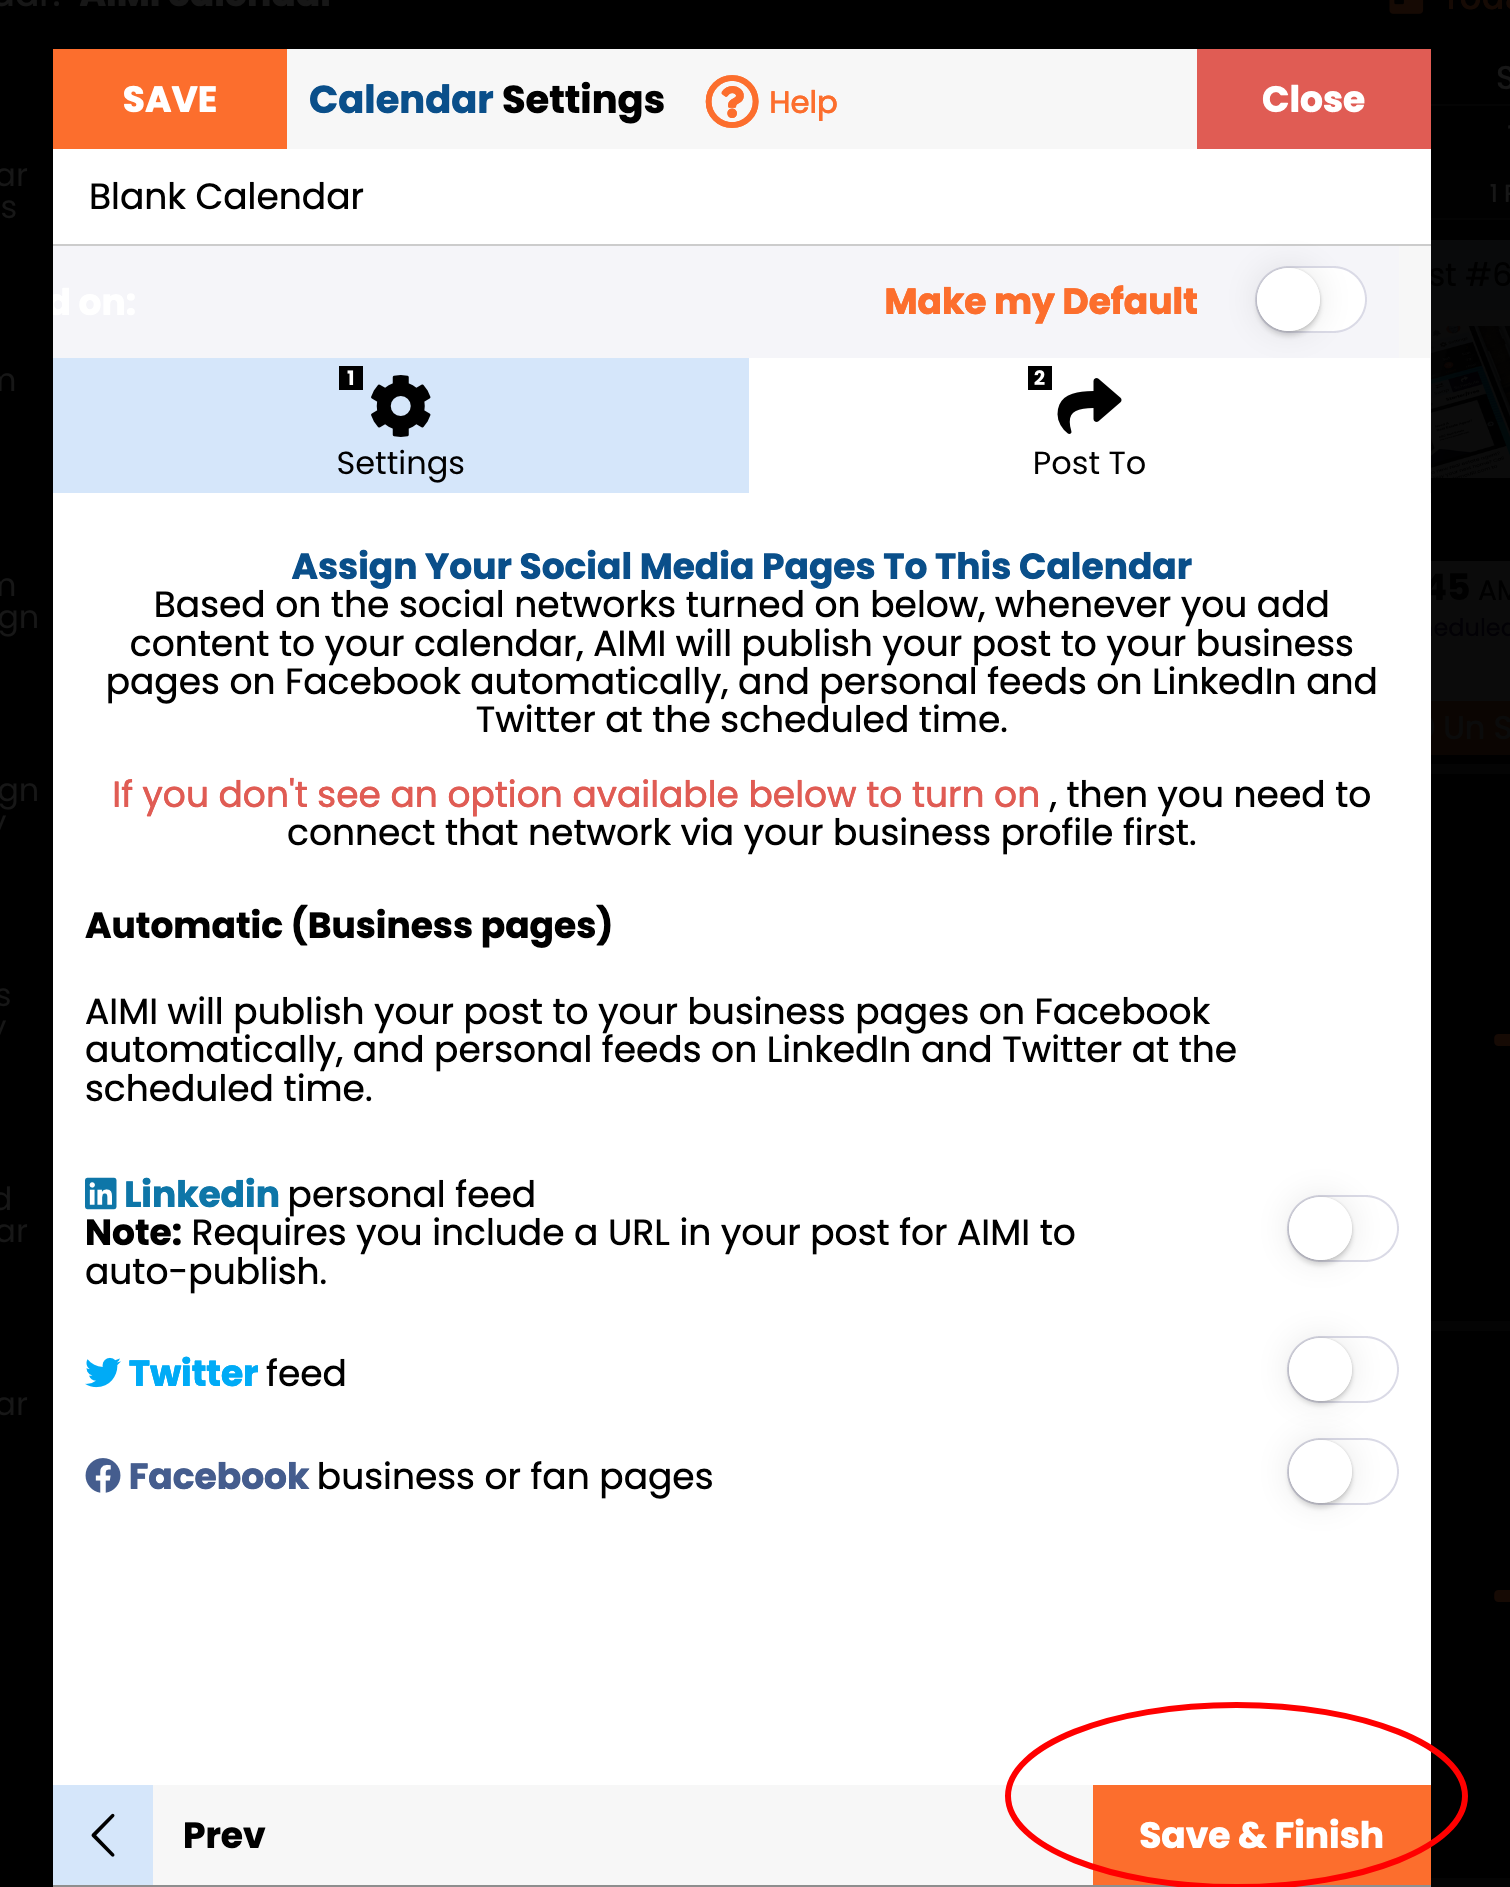
Next, you will be redirected to a blank calendar settings section to set up the new calendar.
Under tab #1 Settings, you must give the calendar and name and pick a business profile to use for this calendar. When complete, click on the “Next” button.

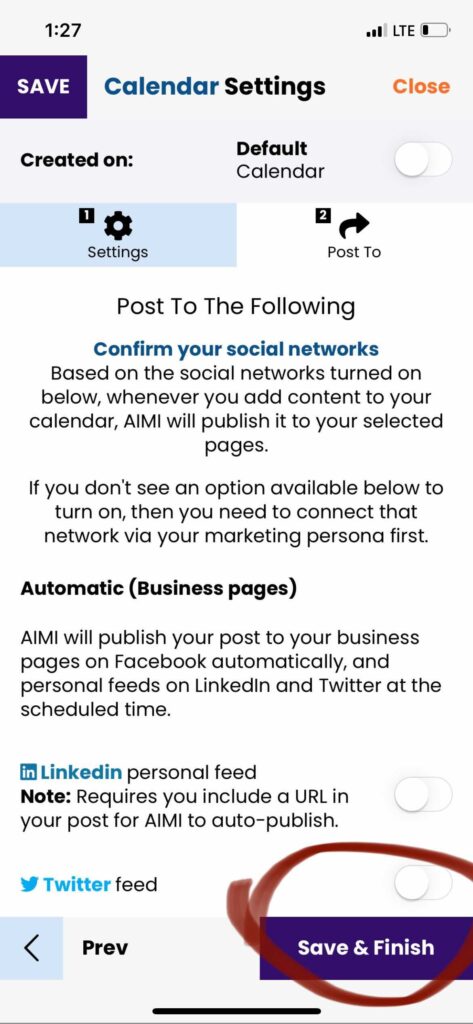
On step #2, Post To, you can turn on your social networks. This step is optional. You can create a new calendar without turning on a social network. Click “Save & Finish,” and AIMI will build your new calendar and load it so you can view it.
In this article, we will show you how to add and remove calendars from your account.
First, load your calendar table by clicking the menu button in the upper left corner of your calendar.
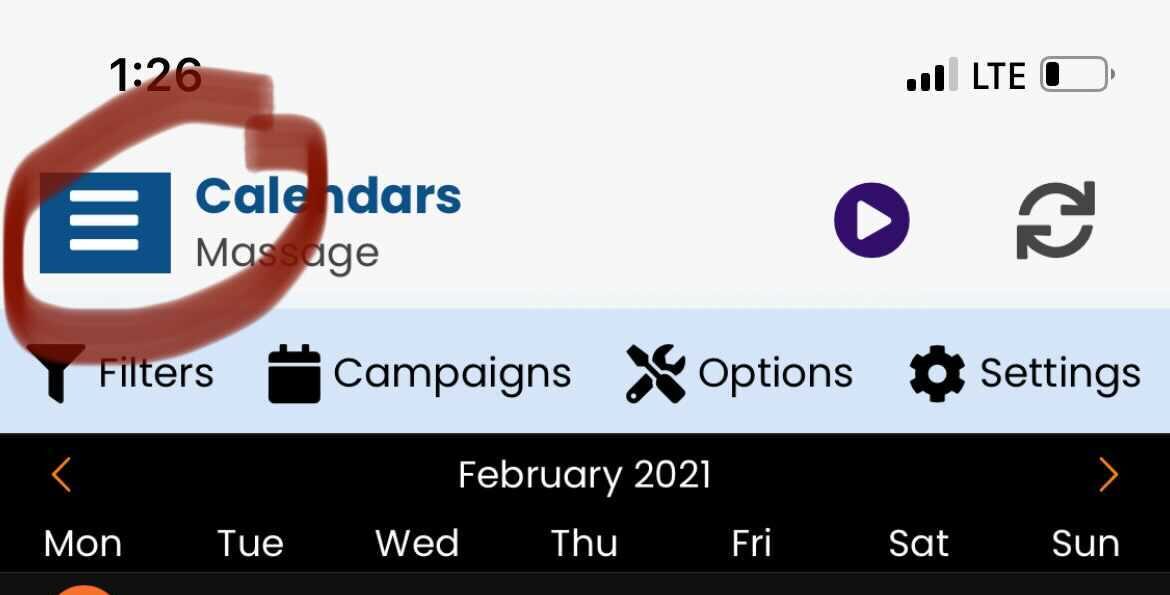
This will open up your calendar table.
To View A Calendar
Use your finger and swipe on the table entry to the right. This will load the calendar in the app.

To Delete a Calendar
Use your finger and swipe on the table entry to the left. This will give you the option to delete the calendar.

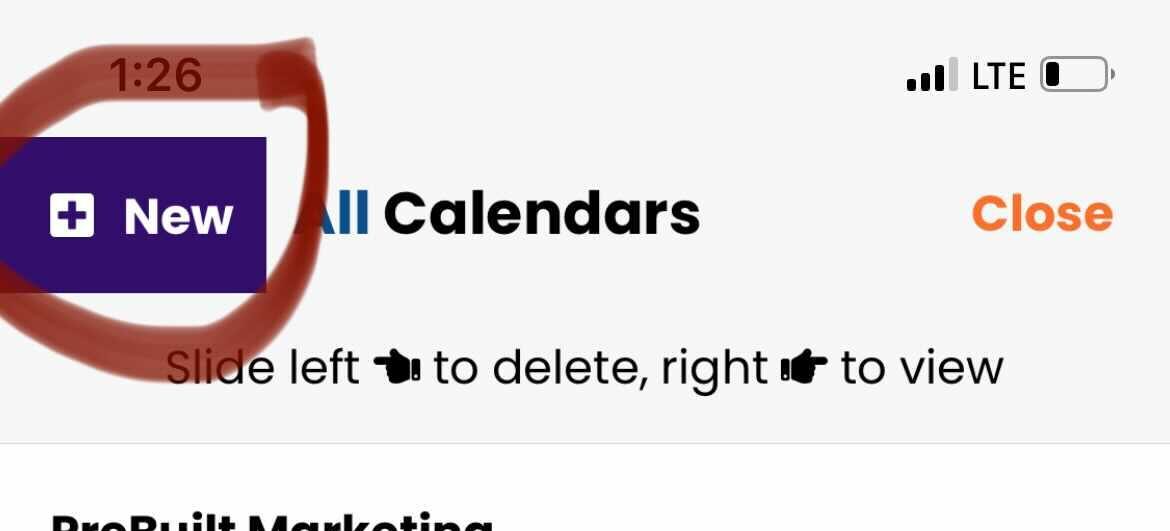
How to create/add a new calendar
Click “New” to create a new calendar.
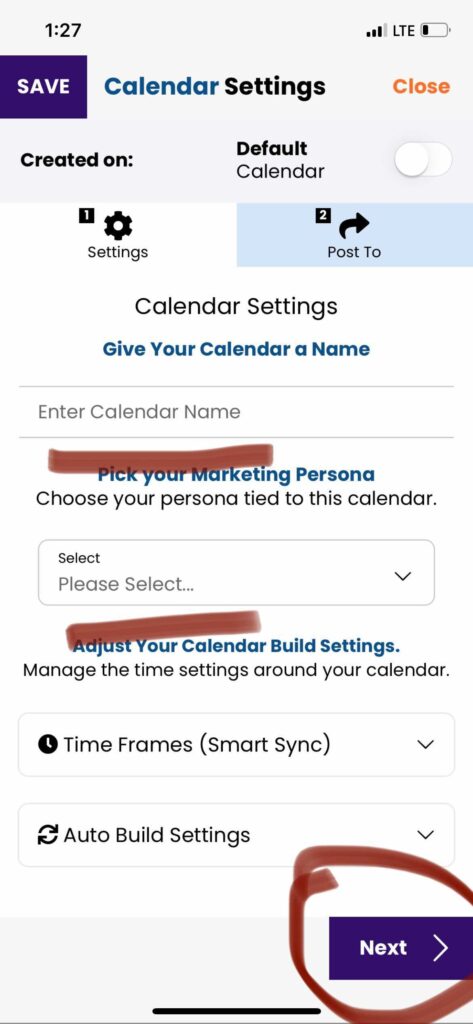
Next, you will be redirected to a blank calendar settings section to set up the new calendar.
Under tab #1 Settings, you must give the calendar and name and pick a business profile to use for this calendar. When complete, click on the “Next” button.
On step #2, Post To, you can turn on your social networks. This step is optional. You can create a new calendar without turning on a social network. Click “Save & Finish,” and AIMI will build your new calendar and load it so you can view it.