This step is where you set the images AIMI will use in the campaign.
Image Collections
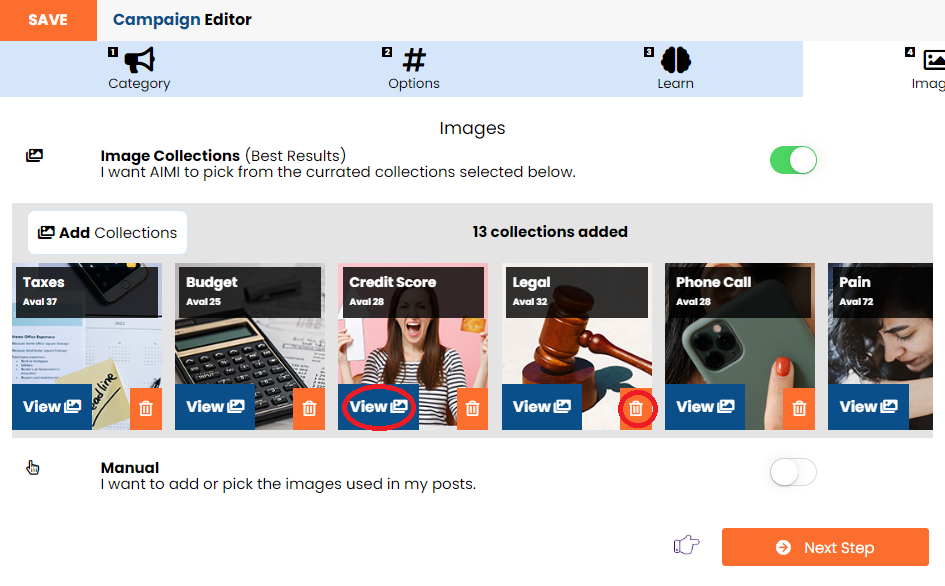
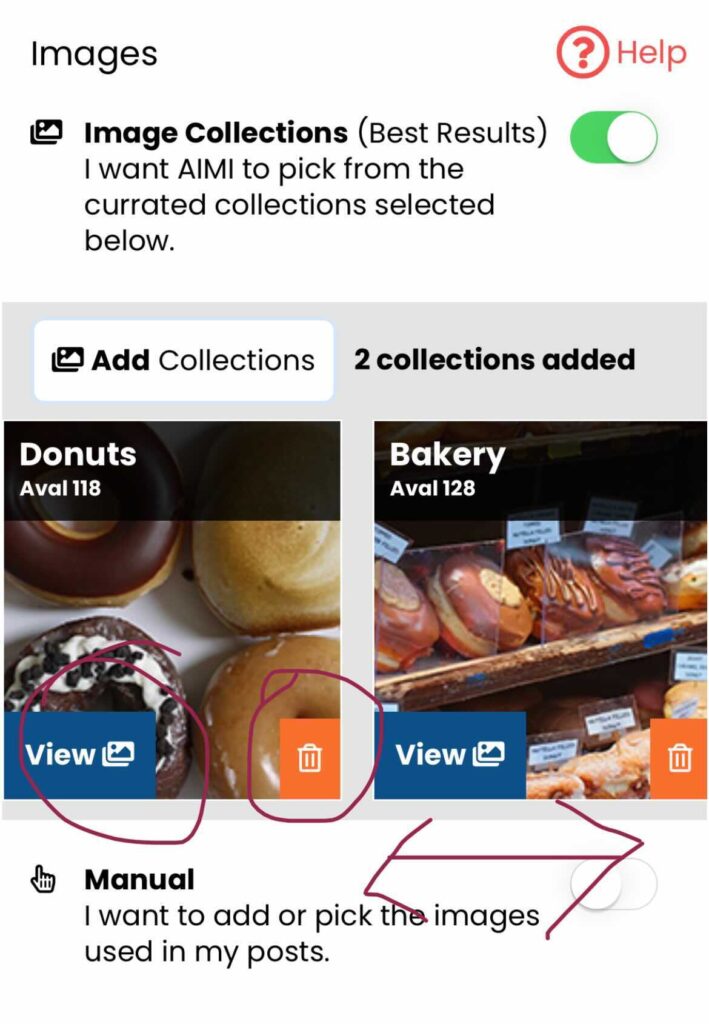
By default, AIMI picks from her image collections library to use in the campaign. Her selections are based on your answers in the samples you created or set by the industry defaults.
Use your mouse to scroll left or right to see all the image collections assigned. You can view the images in a collection by clicking the view button or remove a collection by clicking the trash icon.
Manual
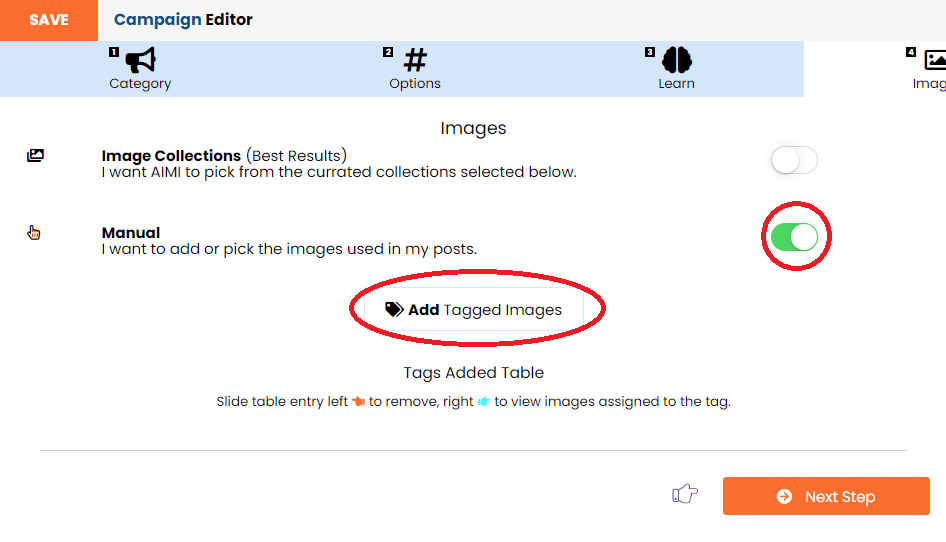
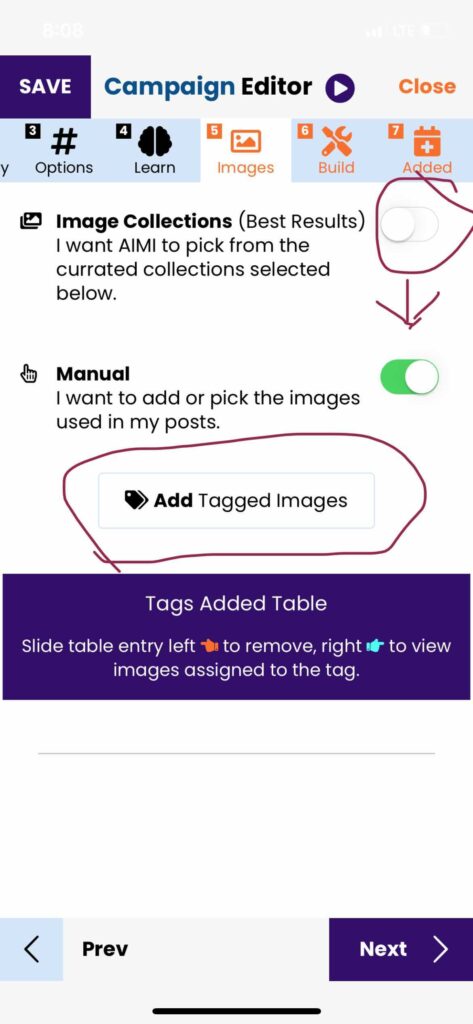
Next, you need to slide on the “Manual” slider option. This will automatically deselect the default “Image Collections” slider to off.
Now click the button entitled “Add Tagged Images.”
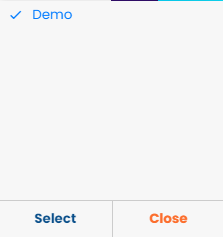
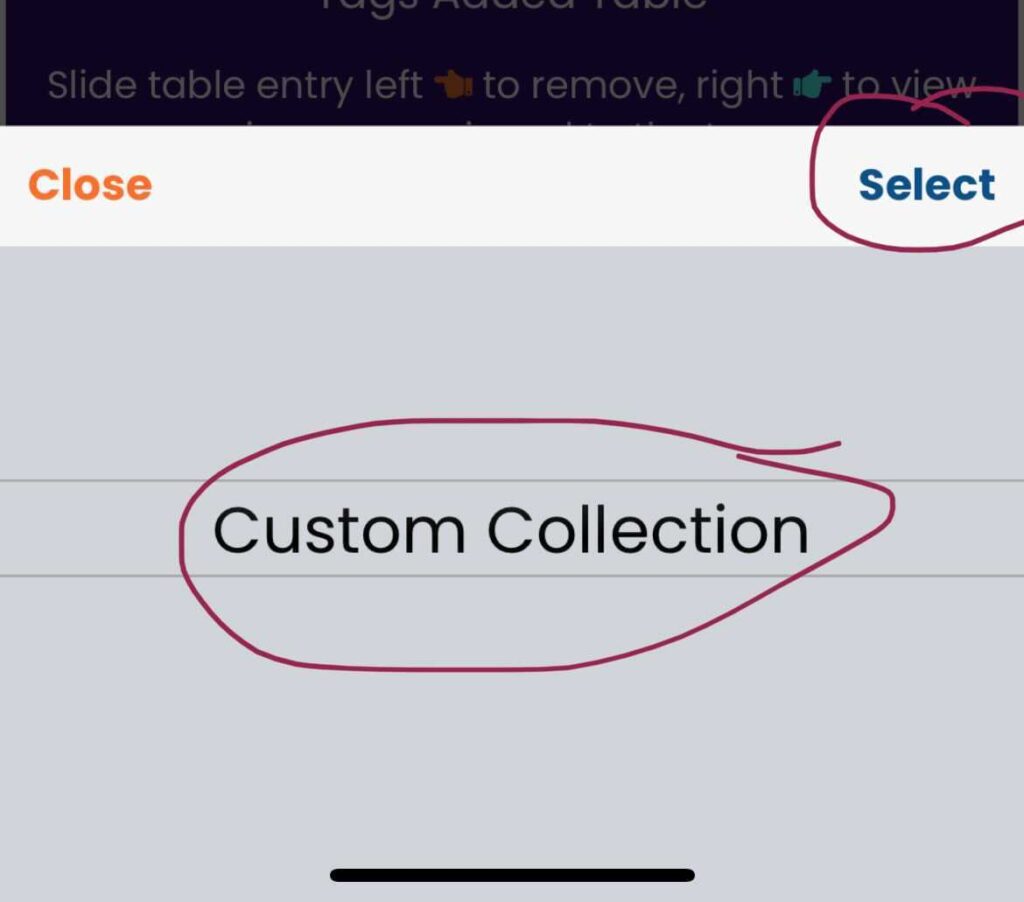
A menu will appear at the bottom of your screen that has all of your image tags. Click the tag you want to use and click “Select” to add it. You can repeat this process and add as many Image tags as needed.
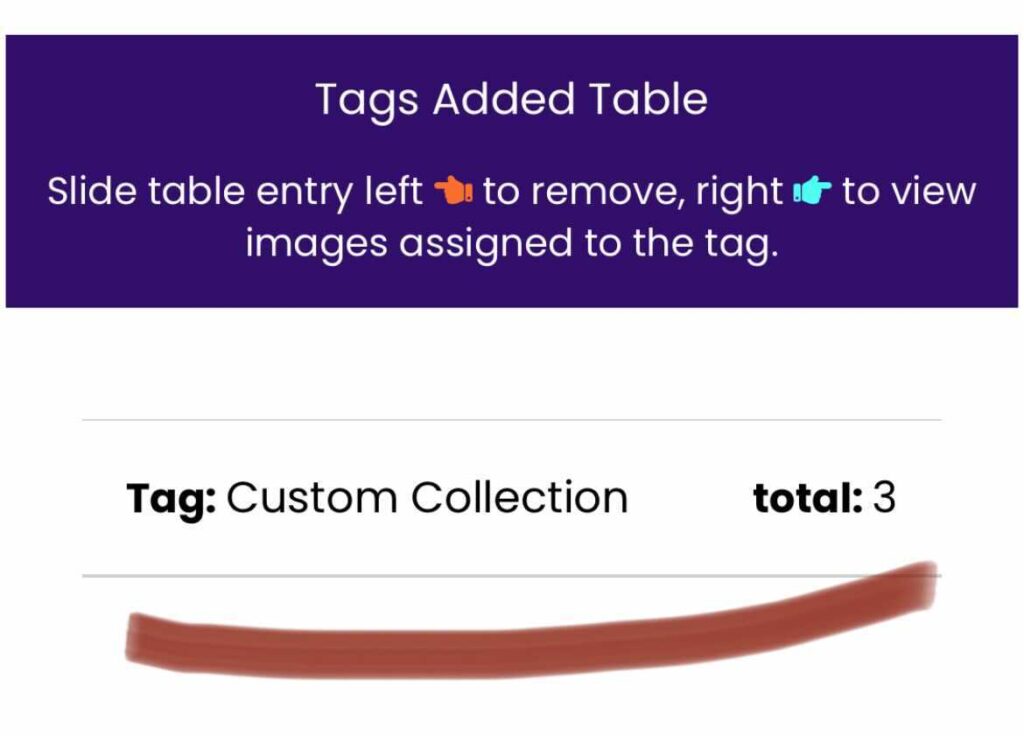
Your added tags will appear in the table. To remove a tag, slide the table entry to the left. To view the images assigned to the tag, slide the table entry to the right.

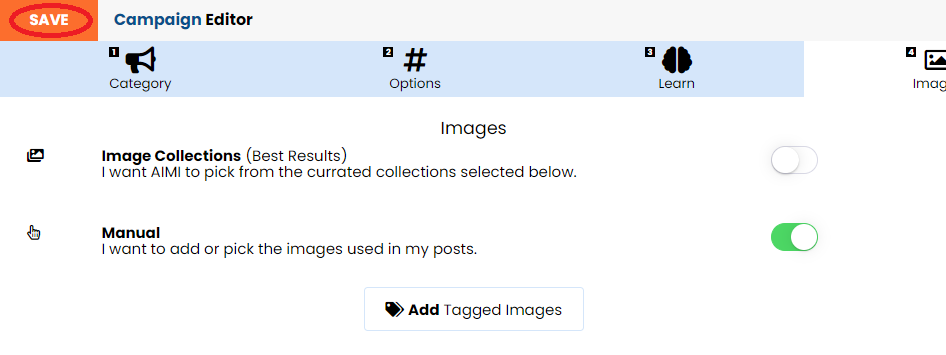
Make sure after you’re done to click the “Save” or “Next” button to save your changes. The next time your campaign builds AIMI will only use the images assigned to your tags.
Next Step: Step #5 Settings – Campaign Editor
This step is where you set the images AIMI will use in the campaign.
Image Collections
By default, AIMI picks from her image collections library to use in the campaign. Her selections are based on your answers in the samples you created or set by the industry defaults.
Use your finger to scroll left or right to see all the image collections assigned. You can view the images in a collection by clicking the view button or remove a collection by clicking the trash icon.
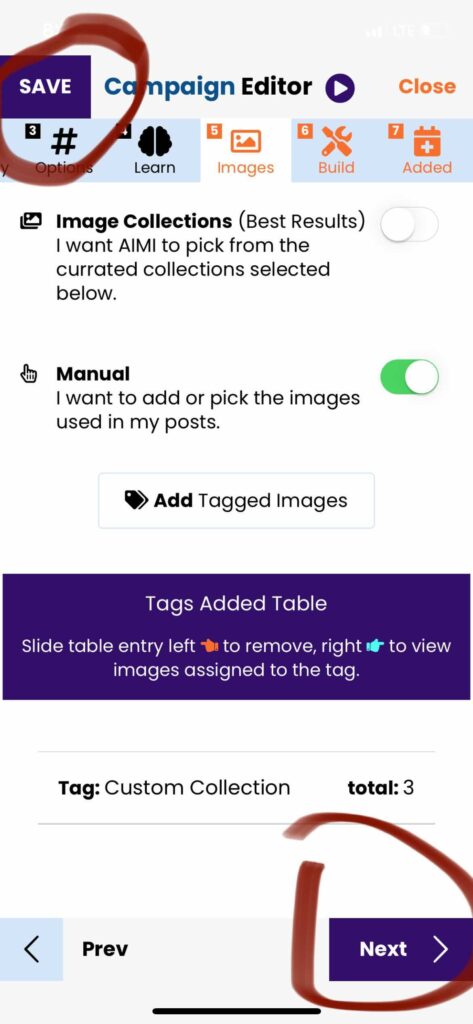
Manual
Next, you need to slide on the “Manual” slider option. This will automatically deselect the default “Image Collections” slider to off.
Now click the button entitled “Add Tagged Images.”
A menu will appear at the bottom of your screen that has all of your image tags. Click the tag you want to use and click “Select” to add it. You can repeat this process and add as many Image tags as needed.
Your added tags will appear in the table. To remove a tag, slide the table entry to the left. To view the images assigned to the tag, slide the table entry to the right.
Make sure after you’re done to click the “Save” or “Next” button to save your changes. The next time your campaign builds AIMI will only use the images assigned to your tags.
Next Step: Step #6 Build – Campaign Editor